centos6.7下实战itop安装(ITIL)
1、1.必须lamp环境,这里不作说明.参见我的另一篇实战owncloud,
利用之前搭建的环境.从官方下载itop软件包
进入/var/www/html目录
# cd /var/www/html
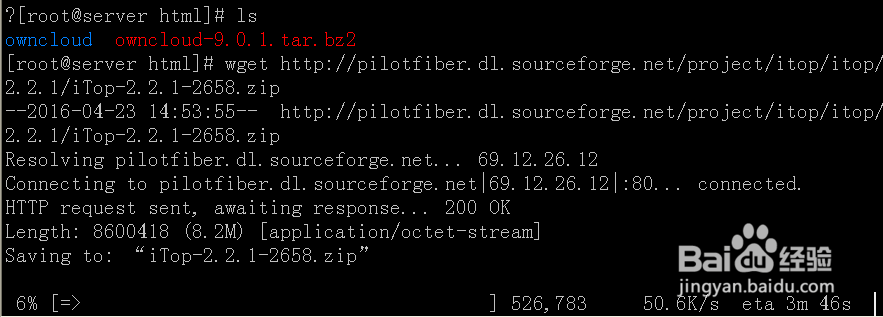
下载包
# wget http://pilotfiber.dl.sourceforge.net/project/itop/itop/2.2.1/iTop-2.2.1-2658.zip
2、解压至./html下
# unzip iTop-2.2.1-2658.zip

3、查看解压后的文件,这里我们只需要web文件夹,其他画红框的请随意处理

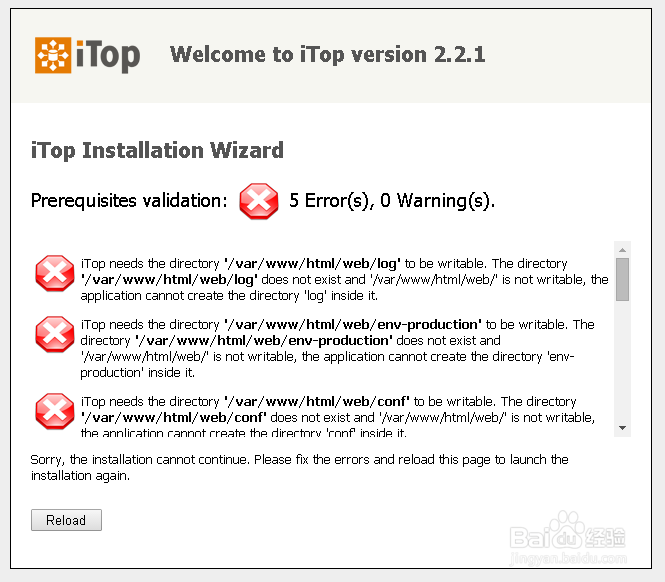
4、浏览器访问
http://你主机IP/web
显示如下内容报错信息
需要web下的log env-production conf data 四个文件夹没有权限创建

5、给web文件夹加权,我们再看一看
# chmod 777 /var/www/html/web
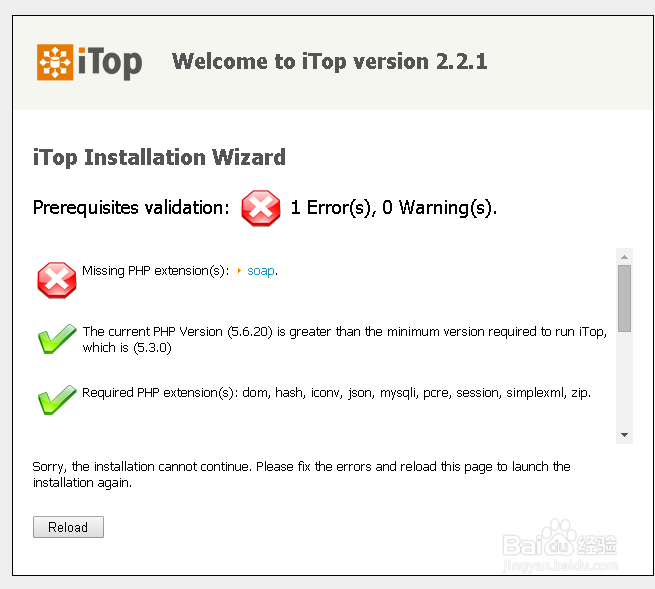
6、只剩下一个错误Missing PHP extension(s): soap
缺少php soap扩展
安装一下
# yum install -y php56w-soap.x86_64

7、安装后,重启httpd服务
# service httpd restart
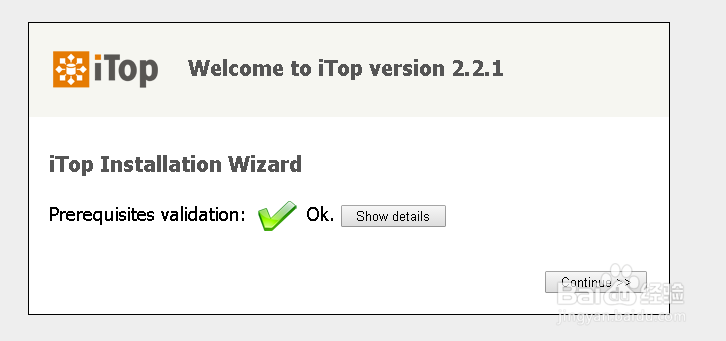
测试,发现通过环境检查,进入安装向导

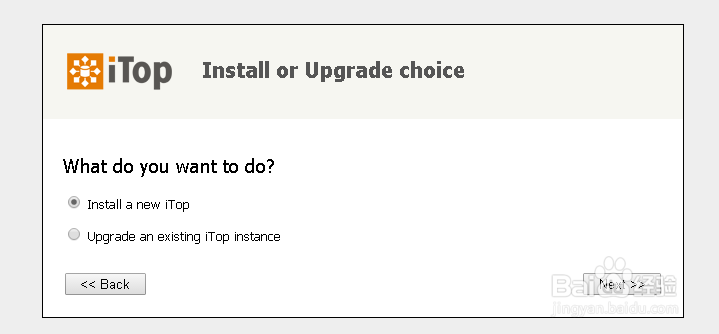
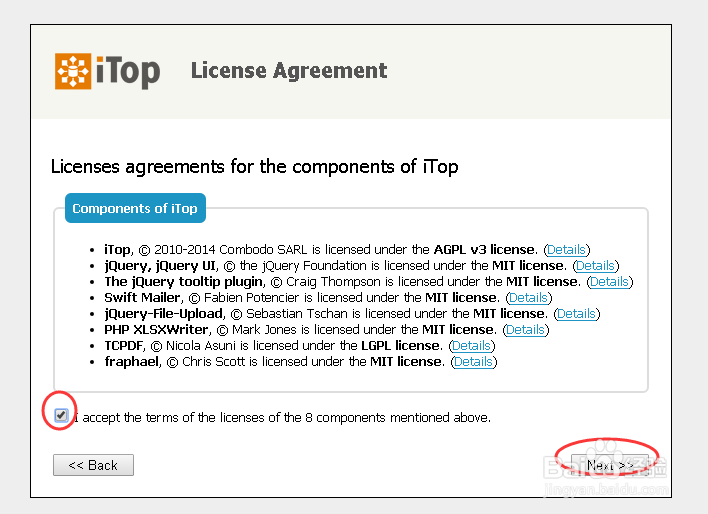
1、安装一个新的ITOP,并同意使用协议
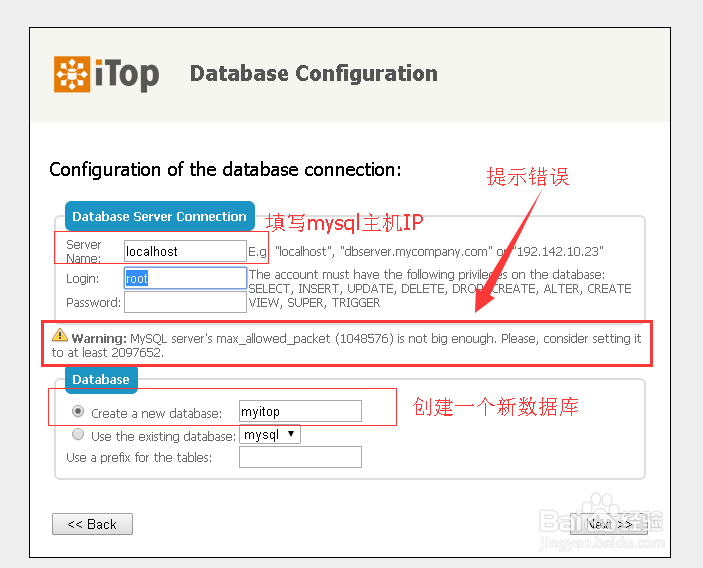
2、正确填写mysql服务IP,及创建新的数据文件,这里提示错误
Warning: MySQL server's max_allowed_packet (1048576) is not big enough. Please, consider setting it to at least 2097652.
max_allowed_packet包大小限制,需要修改mysql配置文件
3、先停止mysqld服务
# service mysqld stop

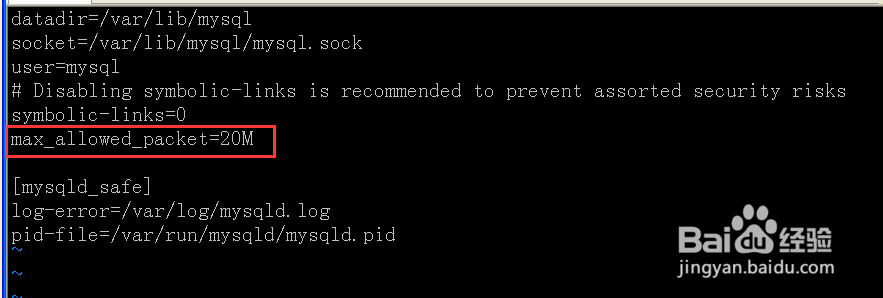
4、编辑vi /etc/my.cnf
增加以下字段
[mysqld]
max_allowed_packet=20M
保存退出
启动mysqld服务
# service mysqld start

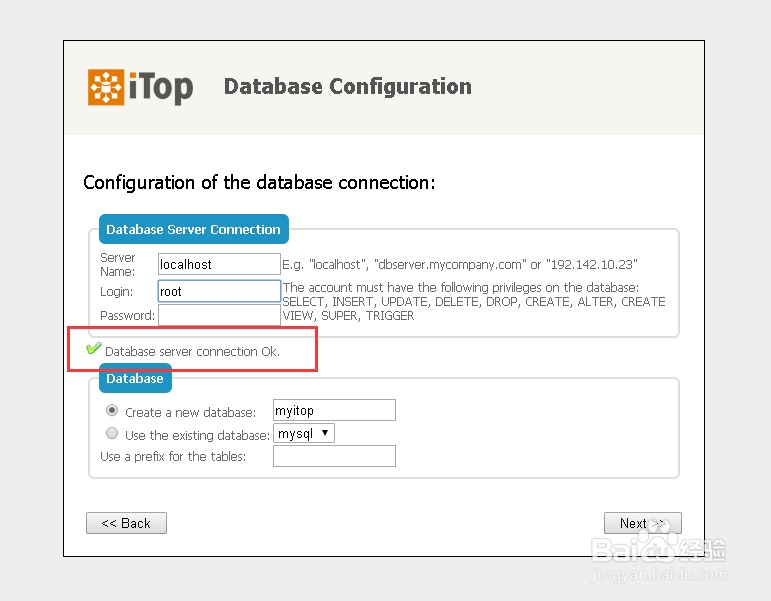
5、检测mysql环境通过
Database server connection Ok.
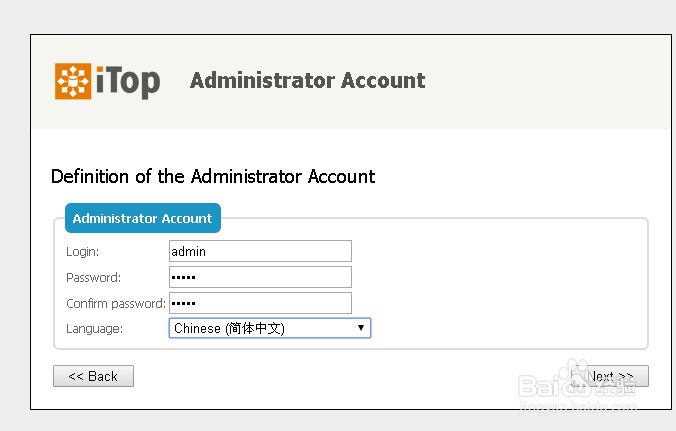
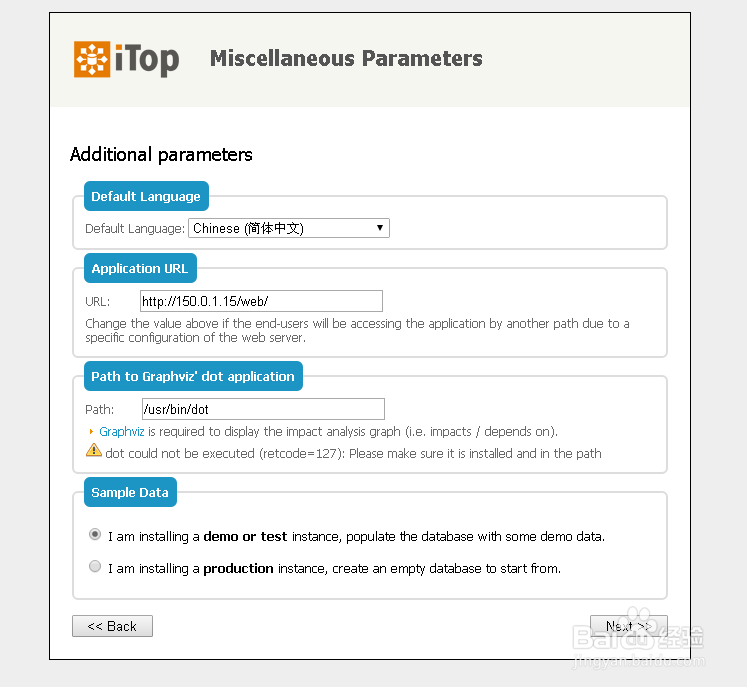
6、建立itop管理员帐户,创建密码,选择语言为简体中文,安装过程按照图片进行.

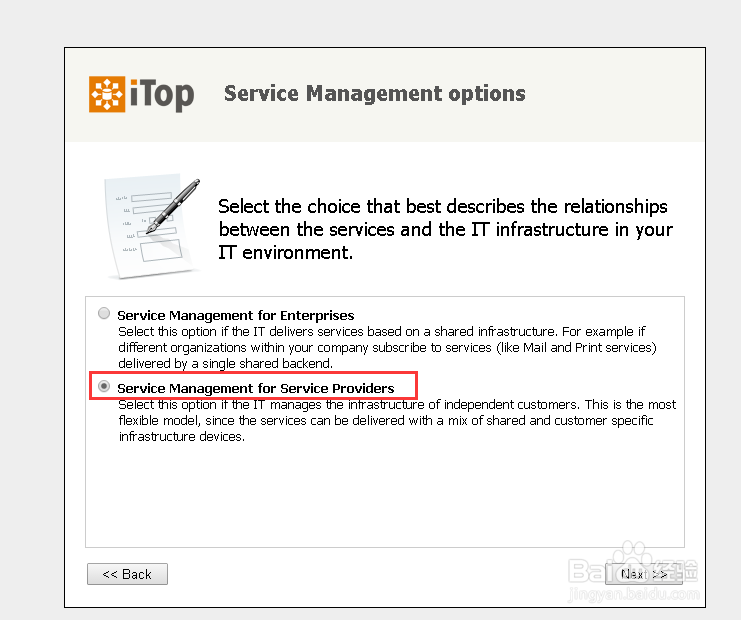
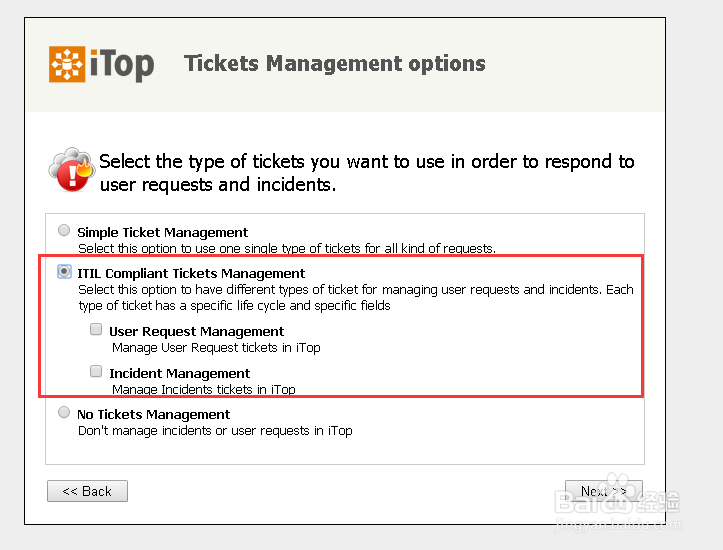
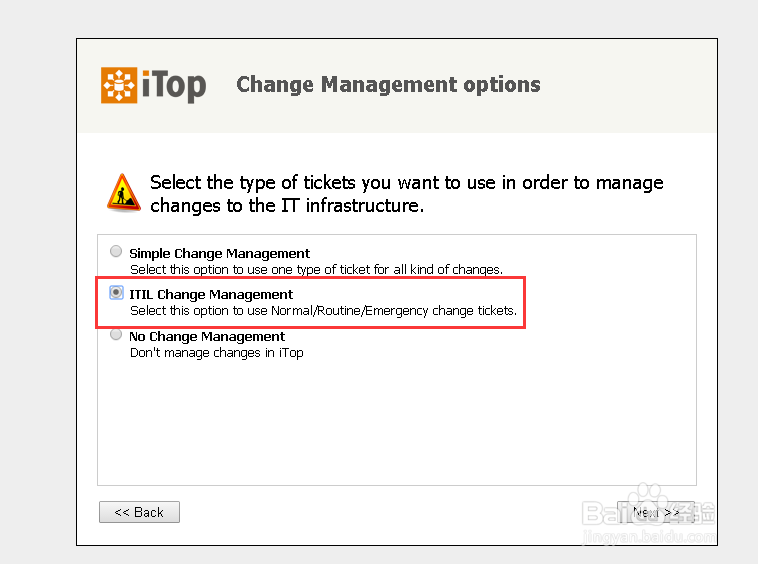
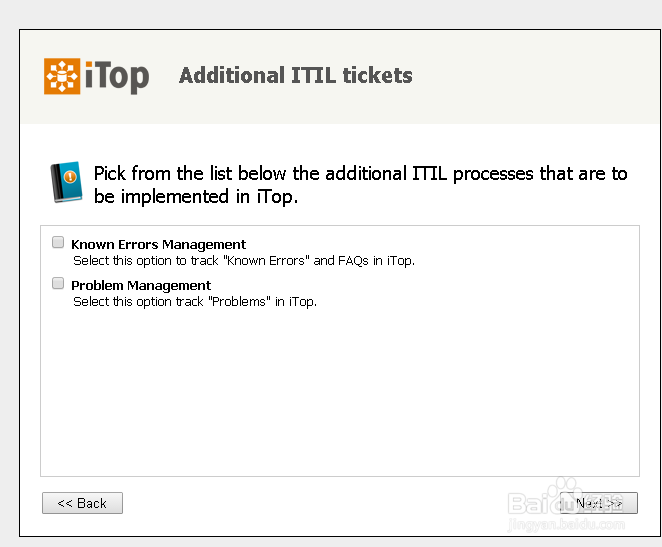
7、选择ITIL流程,按照提示操作
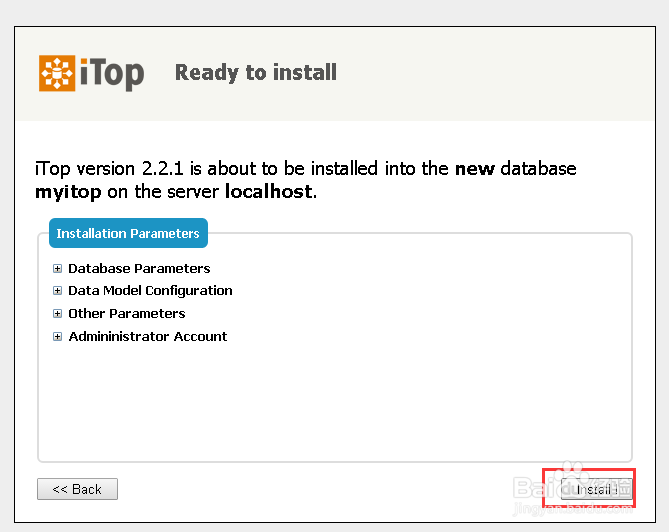
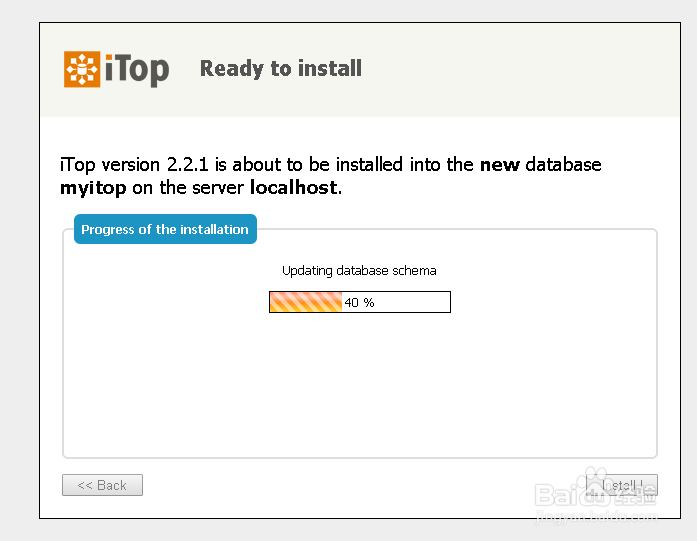
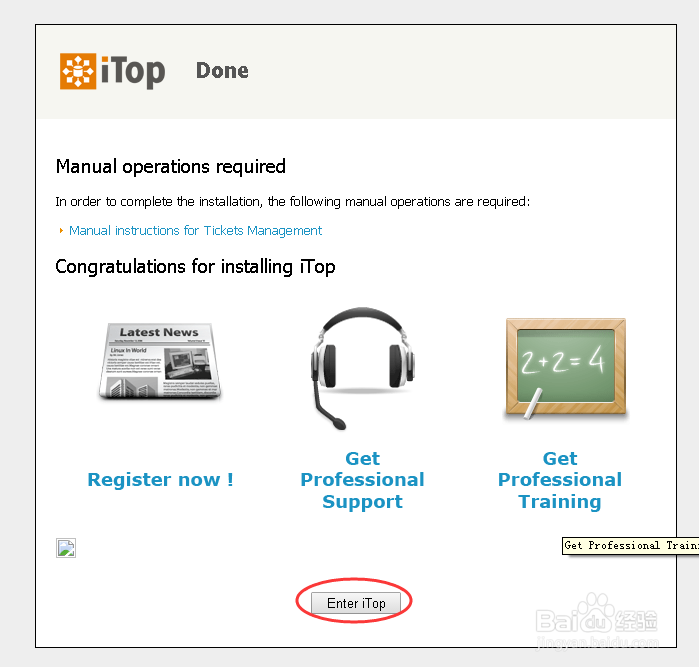
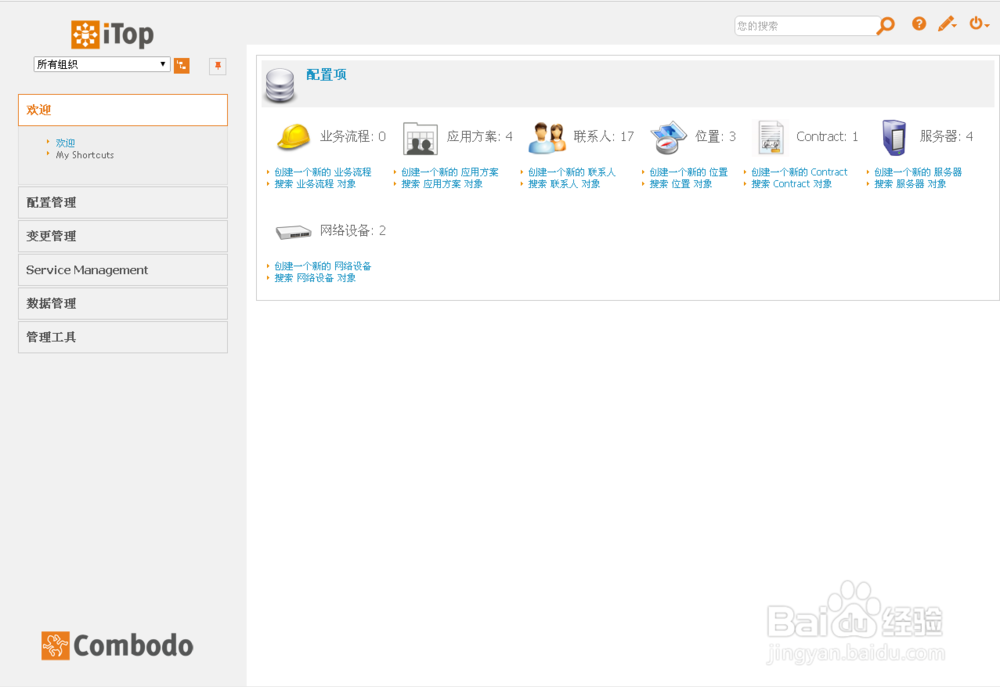
8、安装完进,进入itop界面,
至此itop调试安装过程结束.