CentOS6/CentOS7上启用Telnet服务
1、安装telnet-server
在CentOS6中,telnet服务是由xinetd管理的,没有单独的服务。
# yum install xinetd telnet-server
2、配置文件,启用telnet服务
由于是xinetd服务管的,配置文件都在/etc/xinetd.d目录下
修改/etc/xinetd.d/telnet文件,只要把其中的“disable = yes”改为“ disable = no”,就是启用telnet服务了。
# cat /etc/xinetd.d/telnet

3、修改完,重启xinetd服务就可以了。
# chkconfig xinted on
# service xinetd restart
4、启用root用户登录
默认情况下,telnet不允许root用户登陆,需要做些配置。
在 /etc/securetty 文件最后,多添加一些pts终端入口,就可以以root用户登陆了。
# vim /etc/securetty
......
pts/0
pts/1
pts/2
pts/3
pts/4
pts/5
pts/6
pts/7
pts/8
pts/9
1、安装telnet-server
Telnet服务在CentOS7上是单独的一个服务,不用安装xinetd,只要安装telnet-server,然后启动telnet服务就可以了。
# yum install telnet-server
2、启动telnet服务
# systemctl enable telnet.socket
# systemctl start telnet.socket
3、启用root用户登录
如果要使用root用户登录,也是需要在/etc/securetty文件中添加pts终端入口的,可以参考上面的教程。
1、要使用telnet客户端,需要先安装telnet客户端软件。
# yum install telnet
telnet命令格式:
telnet 远程服务器IP地址或主机名 远程服务器telnet服务端口
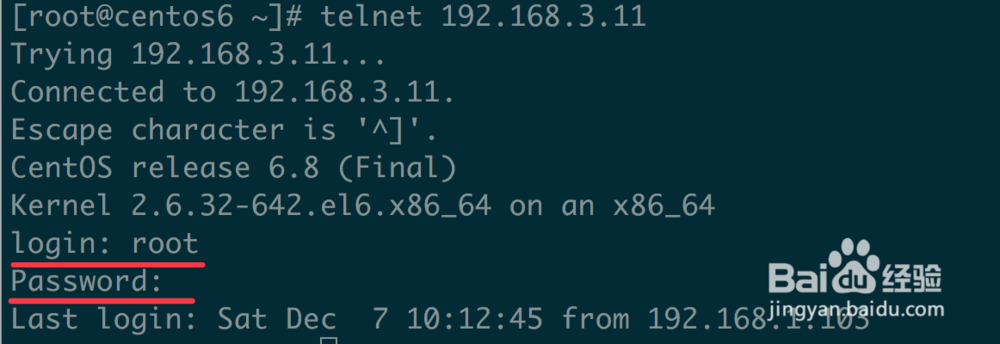
2、实例:
# telnet 192.168.3.11
声明:本网站引用、摘录或转载内容仅供网站访问者交流或参考,不代表本站立场,如存在版权或非法内容,请联系站长删除,联系邮箱:site.kefu@qq.com。
阅读量:67
阅读量:55
阅读量:41
阅读量:138
阅读量:94