awt-image转换成swt-image
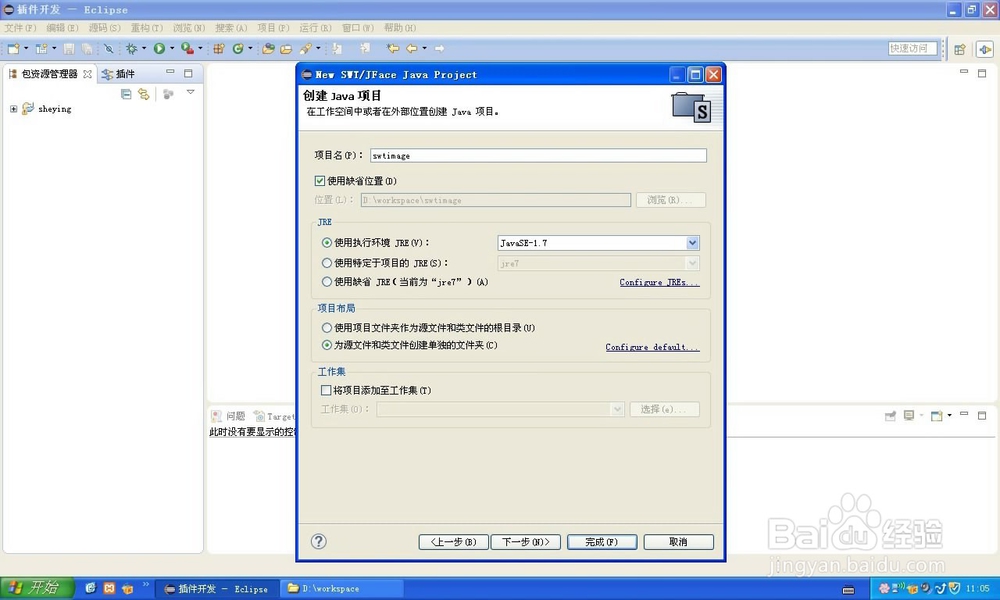
1、首先新建一个java项目:swtimage.
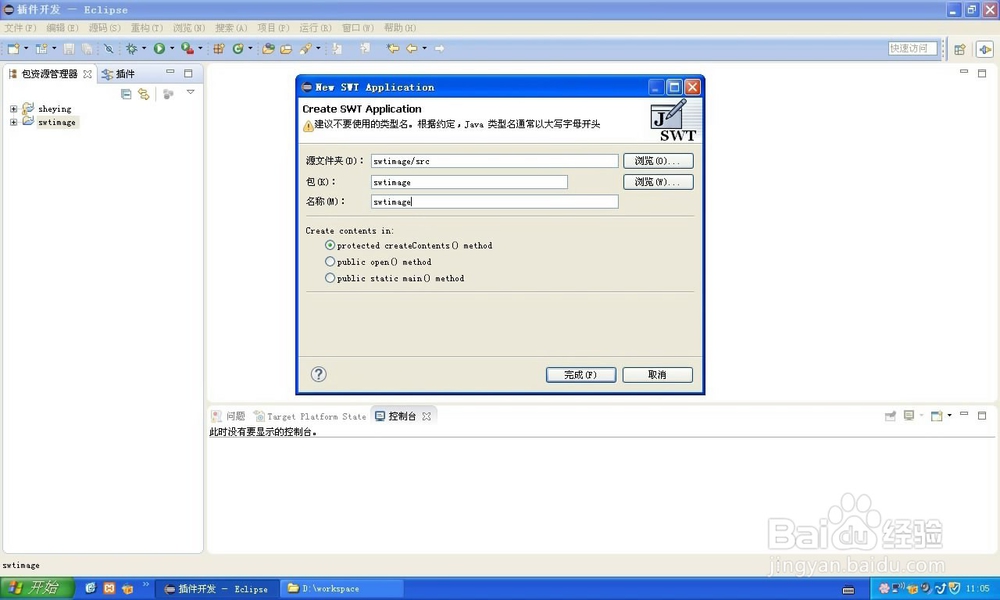
2、其次新建一个主窗口swtimage。
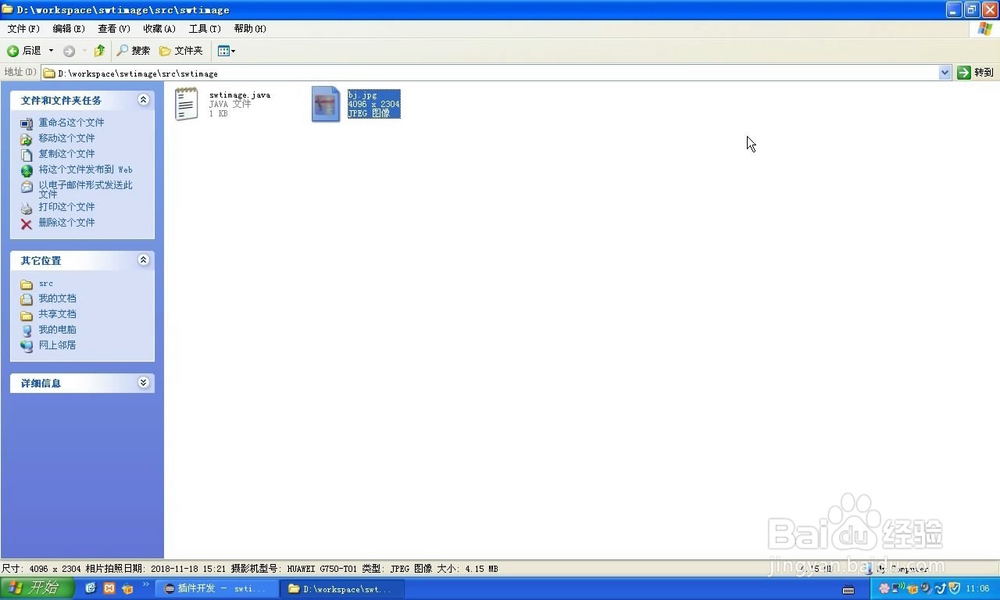
3、把准备好的背景图片放在scr/swtimag这个目录中。
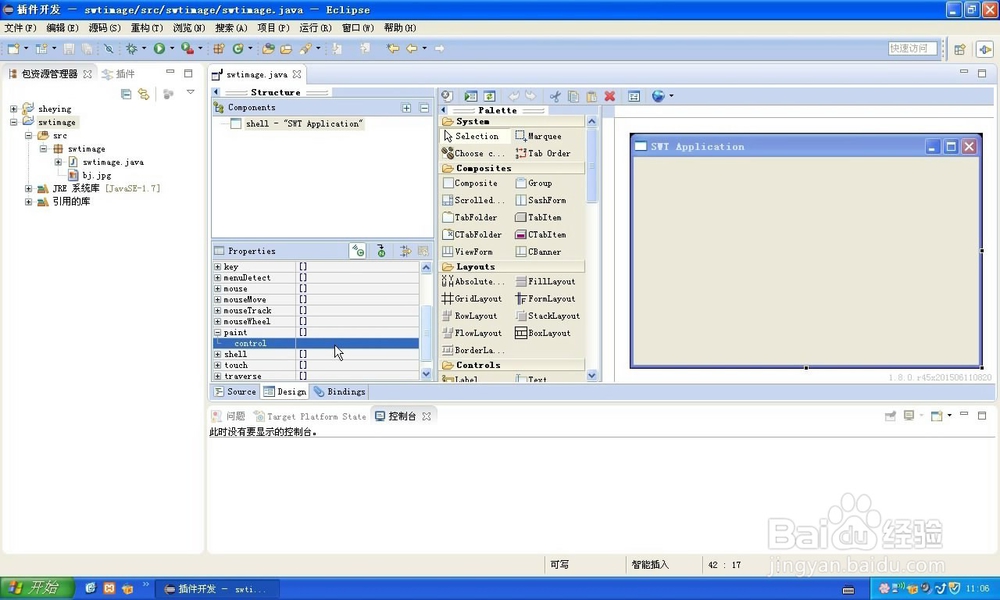
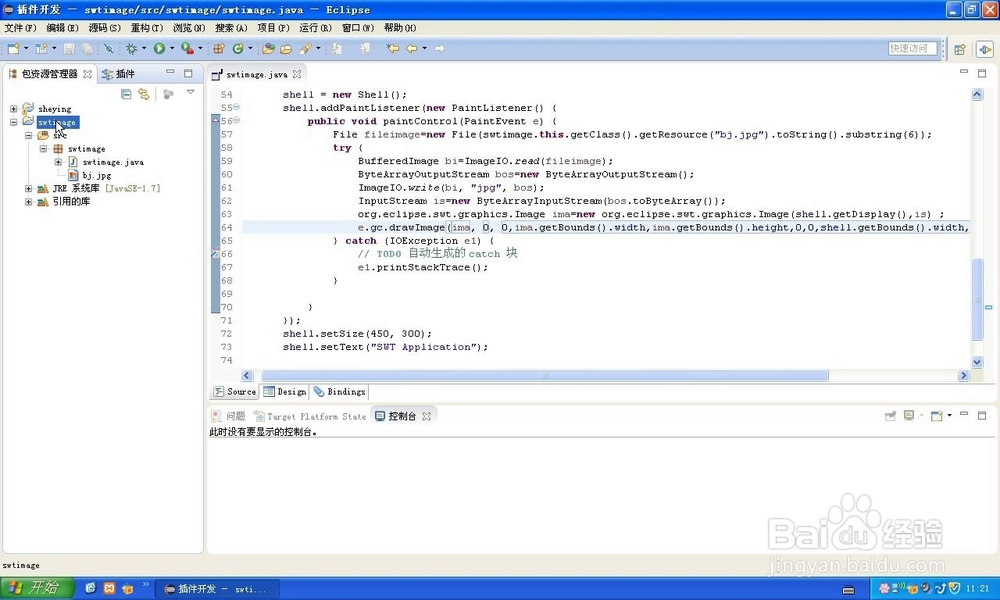
4、编辑窗口的paintControl方法。
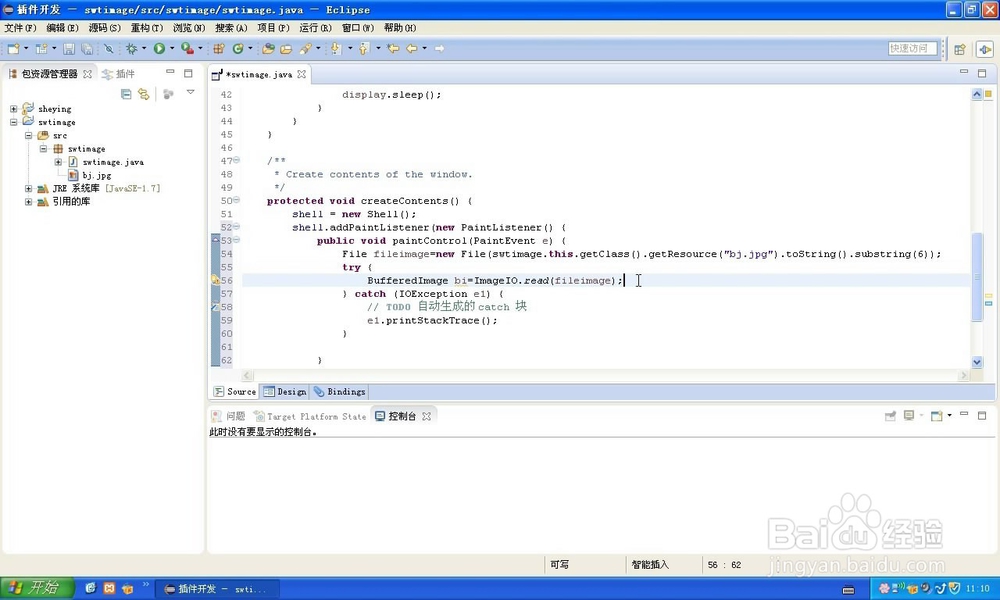
5、打开图片文件,定义一个文件对象,参数是图片的相对路径:
File fileimage=new File(swtimage.this.getClass().getResource("bj.jpg").toString().substring(6));

6、把背景图片加载到内存中:
BufferedImage bi=ImageIO.read(fileimage);
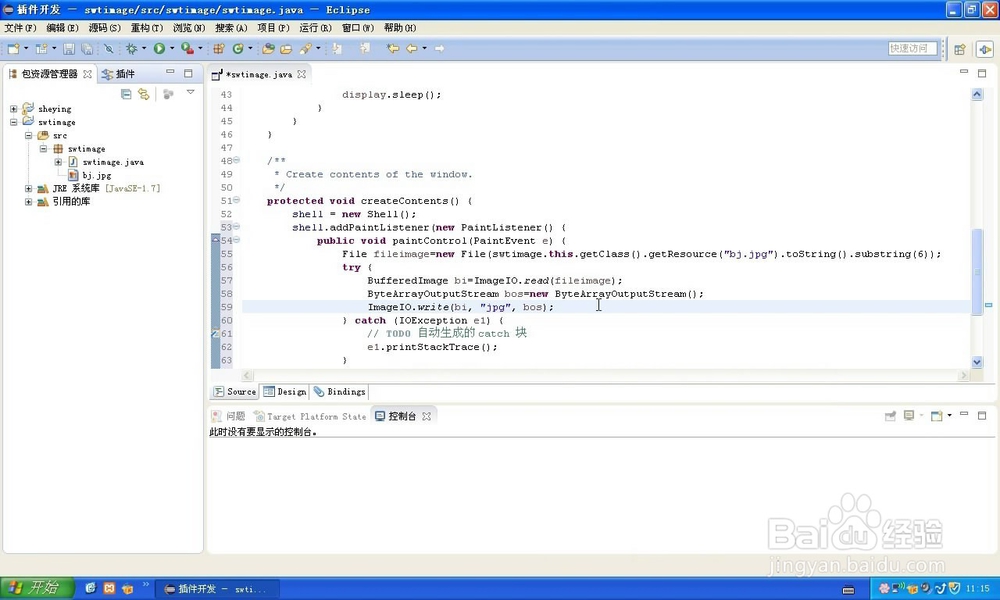
7、把加载的图片写到输出流:
ByteArrayOutputStream bos=new ByteArrayOutputStream();
ImageIO.write(bi, "jpg", bos);
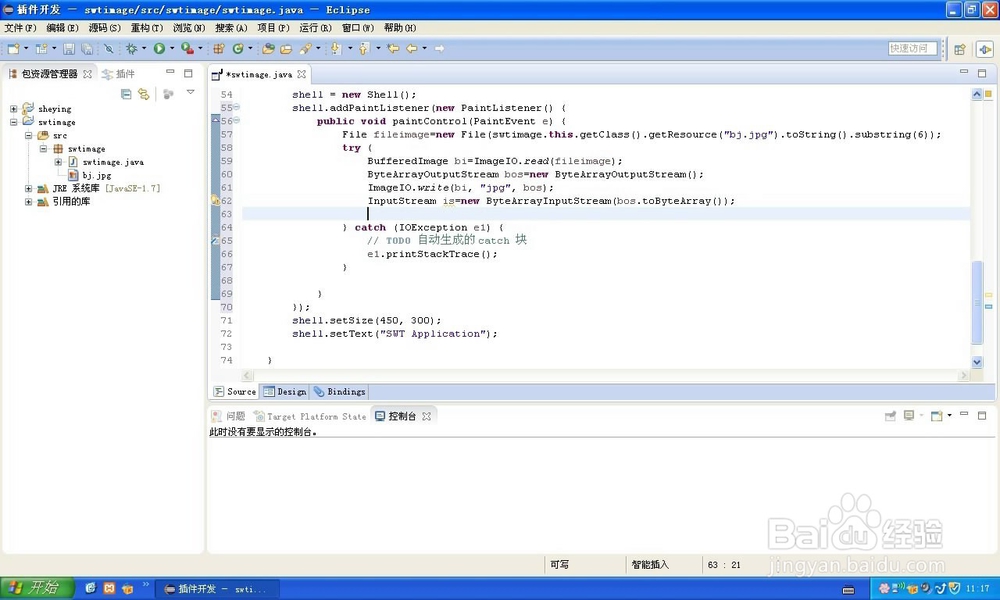
8、把图片转换成输入流:
InputStream is=new ByteArrayInputStream(bos.toByteArray());
接来了就可以转成swt image对象了。
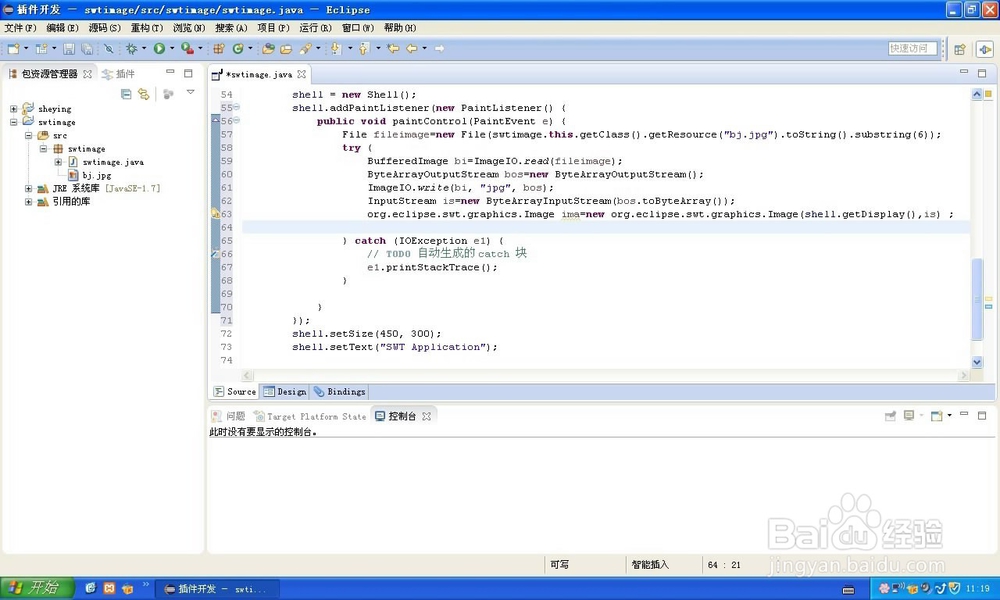
9、把输入流转换成swt-image对象:
org.eclipse.swt.graphics.Image ima=new org.eclipse.swt.graphics.Image(shell.getDisplay(),is) ;
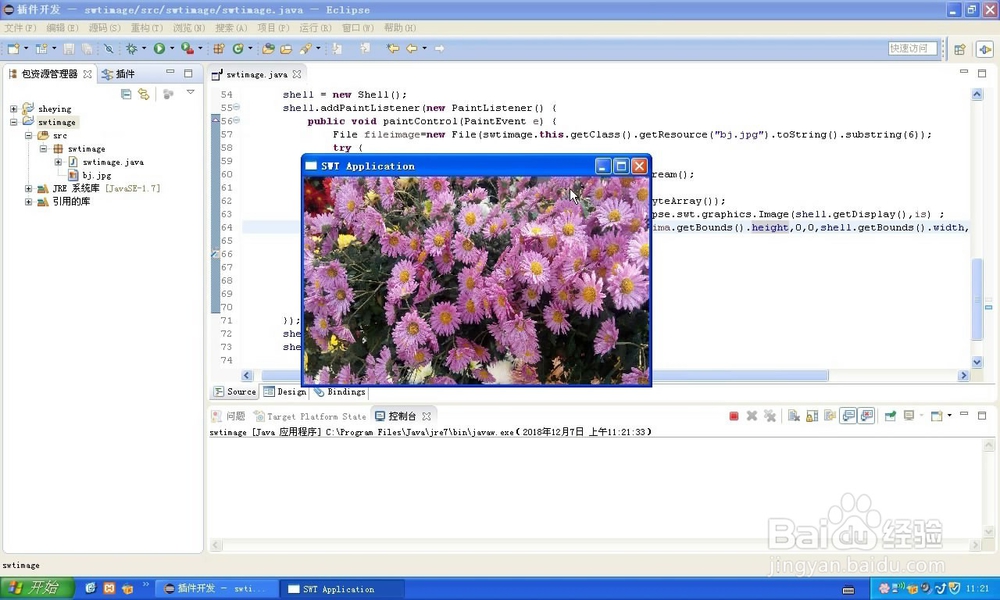
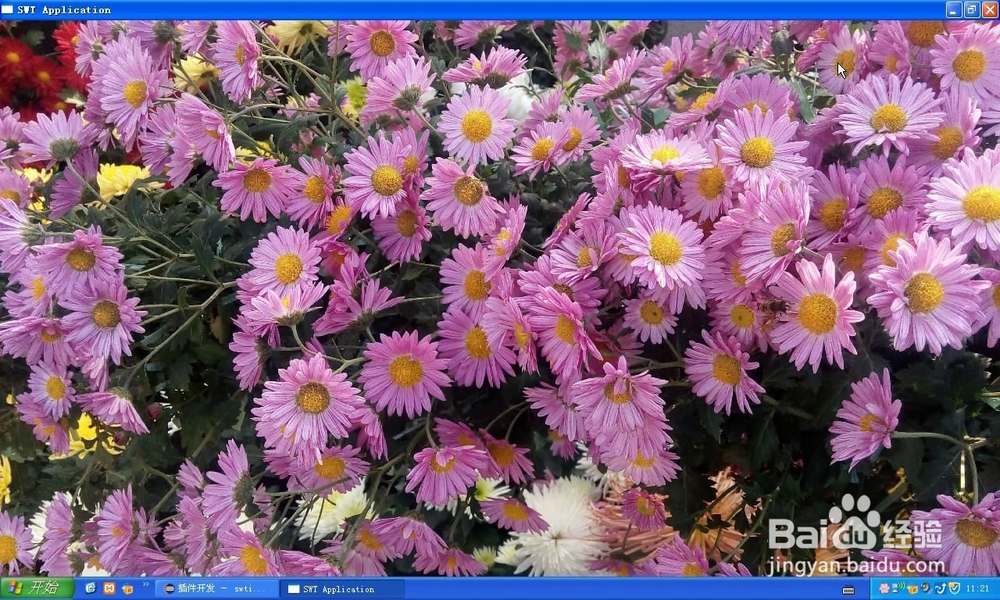
10、把swt -image对象画在屏幕中:
e.gc.drawImage(ima, 0, 0,ima.getBounds().width,ima.getBounds().height,0,0,shell.getBounds().width,shell.getBounds().height);
声明:本网站引用、摘录或转载内容仅供网站访问者交流或参考,不代表本站立场,如存在版权或非法内容,请联系站长删除,联系邮箱:site.kefu@qq.com。
阅读量:151
阅读量:32
阅读量:95
阅读量:145
阅读量:181