jQuery自定义图片标注插件
1、新建html文档。

2、准备好需要用到的图标。


3、书写hmtl代码。
<form action="" id="imgform">
图片链接:
<input type="text" name="src" value="build.jpg" style="display:block;width:100%;height:30px">
<button class="addpic" type="submit" disabled="disabled" style="margin-top:10px;padding:10px;width:100%">点击标注图片</button>
</form>

4、书写css代码。
<style>
* { padding: 0; margin: 0 }
.top-tab { background-color: #333; padding: 10px; margin-bottom: 50px }
.top-tab a { display: flex; align-items: center; color: #fff }
#imgform { margin: 0 auto; width: 500px }
</style>

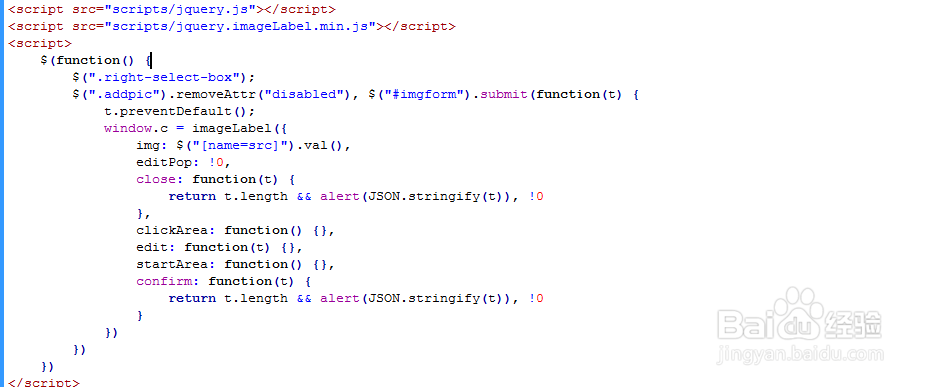
5、书写并添加js代码。
<script src="scripts/jquery.js"></script>
<script src="scripts/jquery.imageLabel.min.js"></script>
<script>
$(function() {
$(".right-select-box");
$(".addpic").removeAttr("disabled"), $("#imgform").submit(function(t) {
t.preventDefault();
window.c = imageLabel({
img: $("[name=src]").val(),
editPop: !0,
close: function(t) {
return t.length && alert(JSON.stringify(t)), !0
},
clickArea: function() {},
edit: function(t) {},
startArea: function() {},
confirm: function(t) {
return t.length && alert(JSON.stringify(t)), !0
}
})
})
})
</script>
6、代码整体结构。

7、查看效果。