jspstudy+myeclipse 搭建jsp开发环境
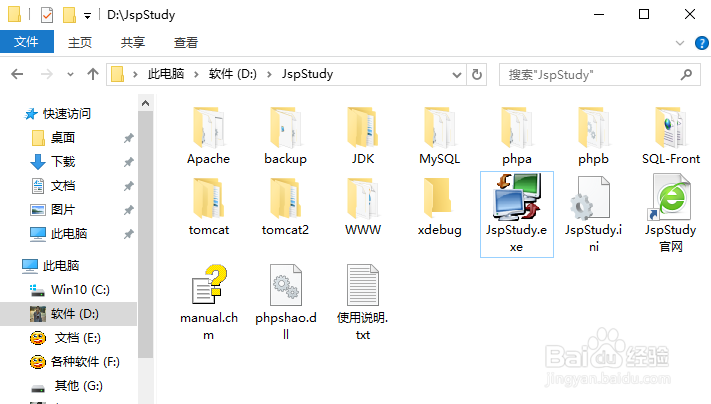
1、解压jspstudy安装文件,得到以下文件夹,其中tomcat文件夹中的是tomcat7,tomcat1中的是tomcat6
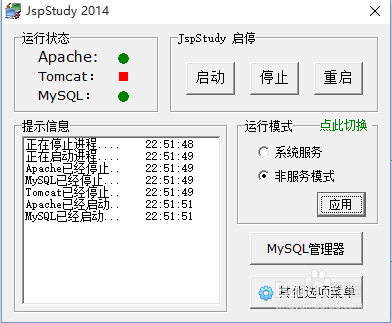
2、运行jspstudy,启动服务,运行模式为非服务模式。运行之后发现tomcat服务器启动不了,一般原因都是因为端口占用
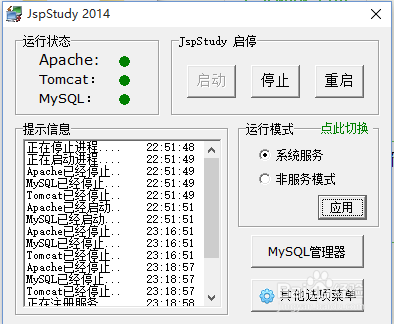
3、点击其他选项菜单->环境端口检测->检测端口->修复
服务全部启动成功

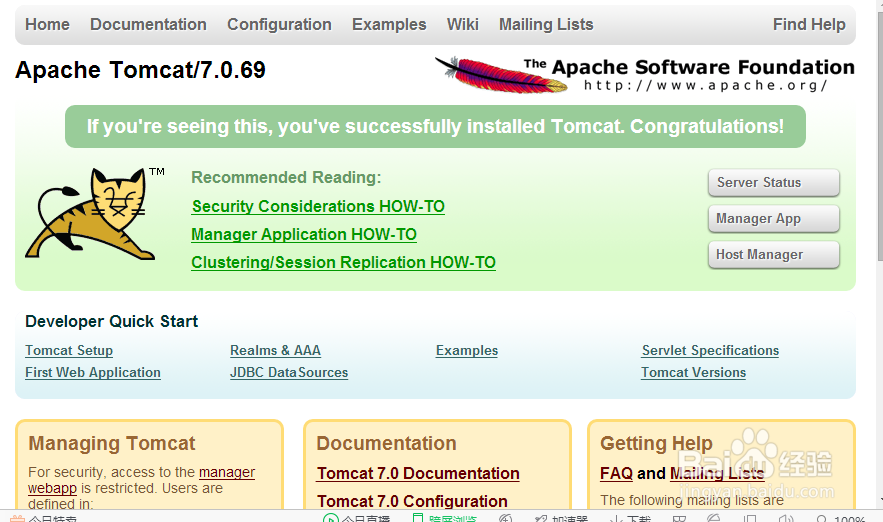
4、检测tomcat是否安装成功,在浏览器输入127.0.0.1:8080出现tomcat主页。 java环境变量这里就不再配置,网上有很多教程。
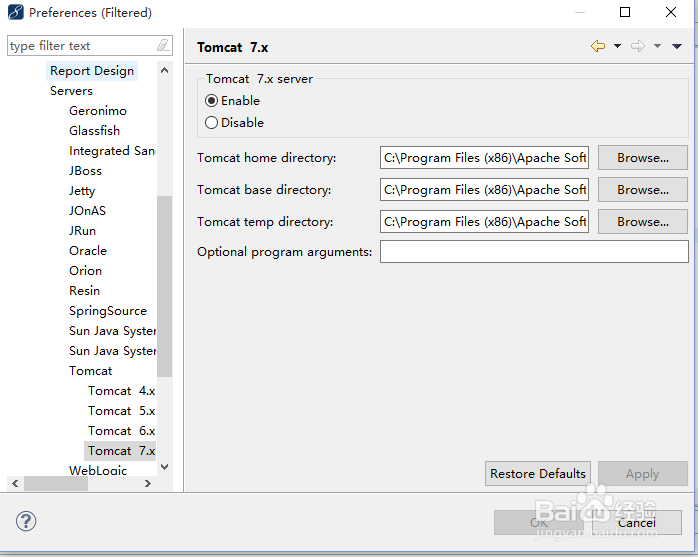
5、在myeclipse里面集成tomcat:
Windows->preferences->myeclipse->server->tomcat->tomcat7
选择Enable 路径为解压的jspstudy下的tomcat目录,点击完成
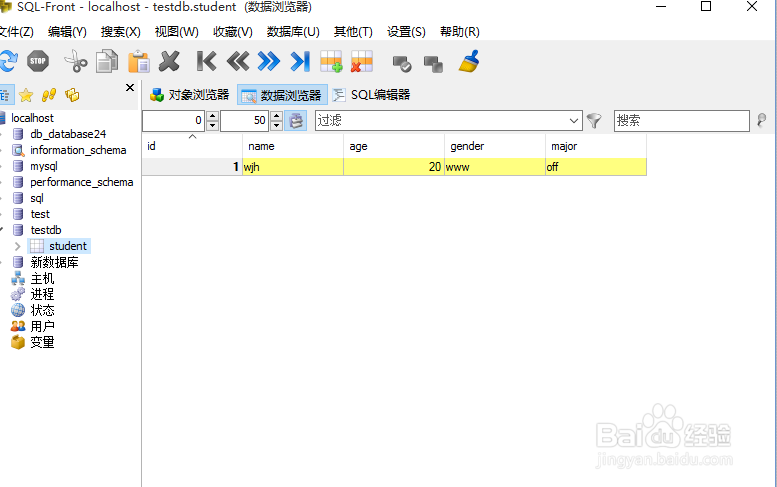
6、下面就要建立一个数据库了,在jspstudy上点击mysql管理器。右击localhost,新建数据库,名称为testdb,字符集为utf-8,点击确认,建立student表,并添加一条记录

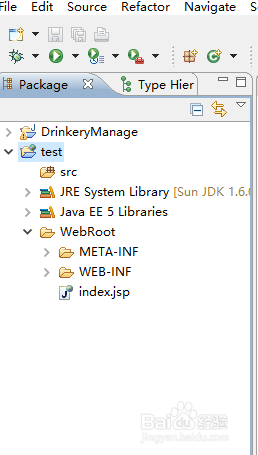
7、新建一个web 工程
file->new->web project输入项目名称test直接确认
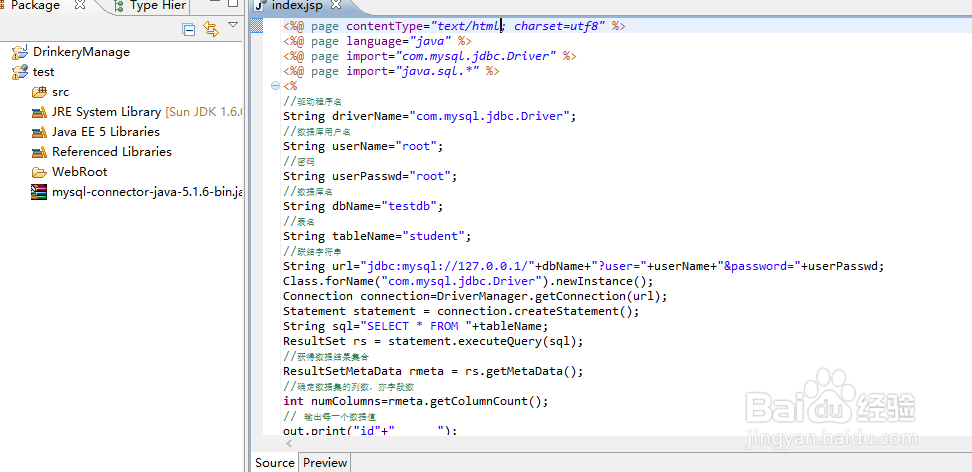
8、修改index.jsp添加以下代码
<%@ page contentType="text/html; charset=utf8" %>
<%@ page language="java" %>
<%@ page import="com.mysql.jdbc.Driver" %>
<%@ page import="java.sql.*" %>
<%
//驱动程序名
String driverName="com.mysql.jdbc.Driver";
//数据库用户名
String userName="root";
//密码
String userPasswd="root";
//数据库名
String dbName="testdb";
//表名
String tableName="student";
//联结字符串
String url="jdbc:mysql://127.0.0.1/"+dbName+"?user="+userName+"&password="+userPasswd;
Class.forName("com.mysql.jdbc.Driver").newInstance();
Connection connection=DriverManager.getConnection(url);
Statement statement = connection.createStatement();
String sql="SELECT * FROM "+tableName;
ResultSet rs = statement.executeQuery(sql);
//获得数据结果集合
ResultSetMetaData rmeta = rs.getMetaData();
//确定数据集的列数,亦字段数
int numColumns=rmeta.getColumnCount();
// 输出每一个数据值
out.print("id"+" ");
out.print("name"+" ");
out.print("age"+" ");
out.print("gender"+" ");
out.print("major"+" ");
out.print("<br>");
while(rs.next()) {
out.print(rs.getString(1)+" ");
out.print(rs.getString(2)+" ");
out.print(rs.getString(3)+" ");
out.print(rs.getString(4)+" ");
out.print(rs.getString(5));
out.print("<br>");
}
out.print("<br>");
out.print("数据库操作成功,恭喜你");
rs.close();
statement.close();
connection.close();
%>
然后将数据库驱动复制到工程下,右键驱动->build path
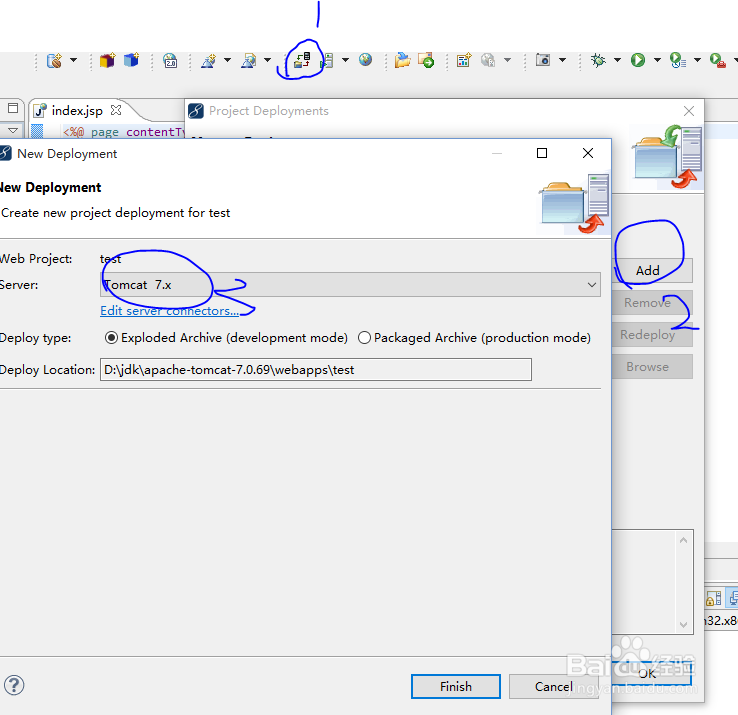
9、将建好的工程发布到tomcat 的webapp下
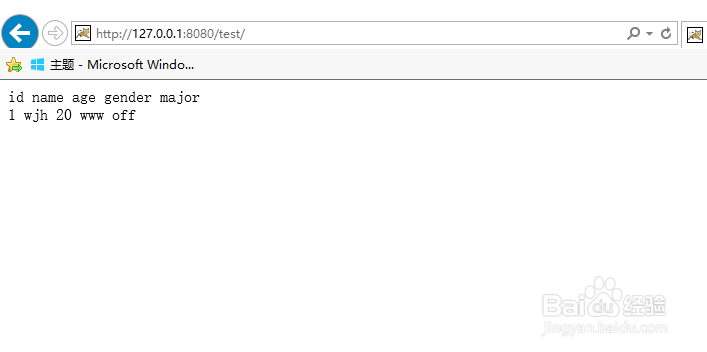
10、打开浏览器输入http:\\127.0.0.1:8080\test
数据库里的内容显示出来。
到此,整个jsp环境的搭建以完成,同时实现了一个web项目里必不可少的一项,那就是连接数据库。当然想做好一个网站并不简单,需要不断的积累,这样才能有所提升。