eclipse建立springMVC 简单项目
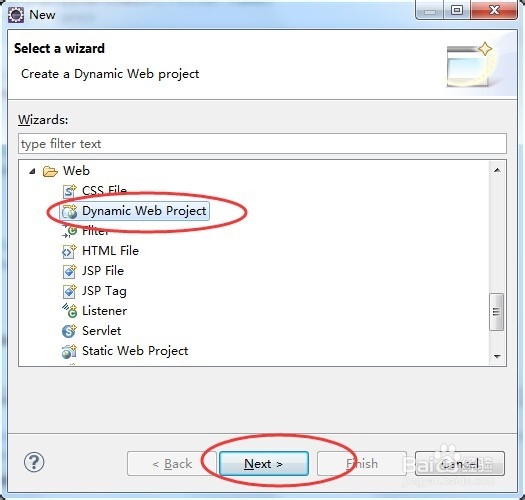
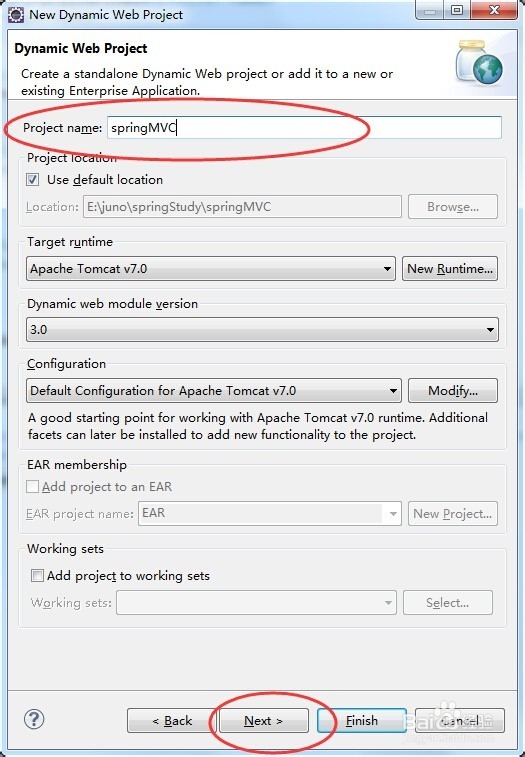
1、新建一个动态web项目,选择 Dynamic Web Project 点击 NEXT 填写项目名称,点NEXT NEXT 选中Generate web.xml 选项,结束。

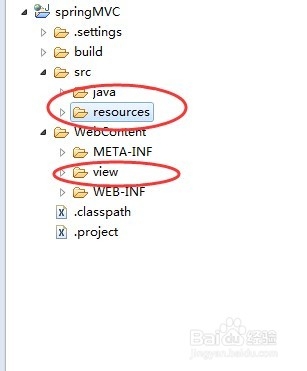
2、在项目下建立相关文件夹,包括java,resources(存放spring等资源文件),view(存放动态页面),右键点击项目,修改properties -> sources 为java和resources(新建资源文件夹)


3、引入相关jar包,如下,包括 commons-logging-1.1.1.jar;spring-beans-
4.0.5.RELEASE.jar;spring-context-4.0.5.RELEASE.jar;spring-context-support-4.0.5.RELEASE.jar;spring-core-4.0.5.RELEASE.jar;spring-expression-4.0.5.RELEASE.jar;spring-web-4.0.5.RELEASE.jar;spring-webmvc-4.0.5.RELEASE.jar;spring-webmvc-portlet-4.0.5.RELEASE.jar等

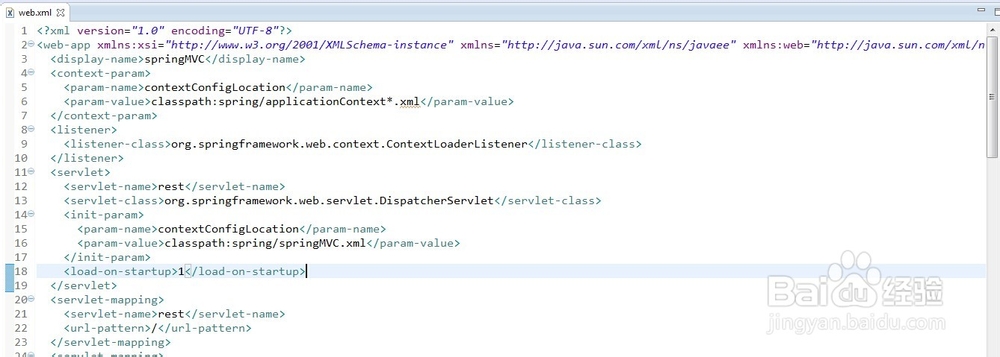
4、修改web.xml文件,增加spring等相关内容。
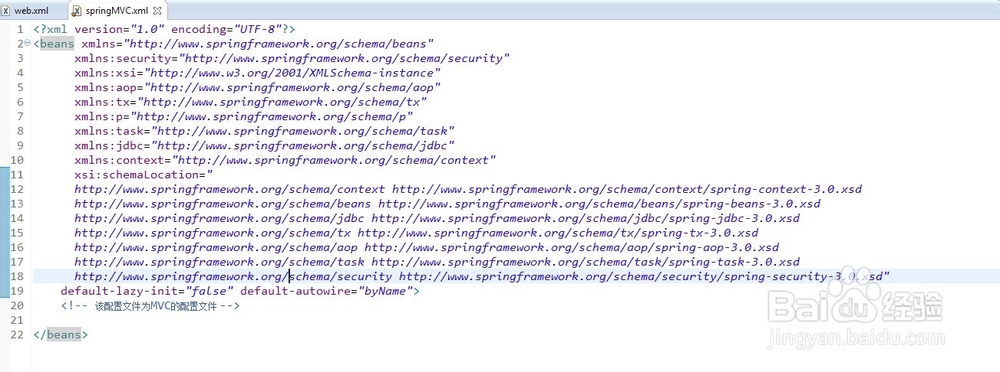
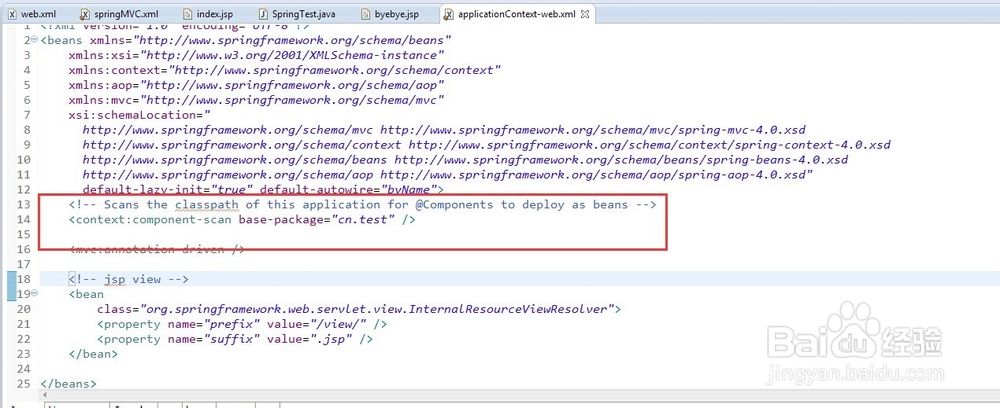
在resources目录下新建spring目录文件夹,在其中新建springMVC.xml,applicationContext-web.xml配置文件,编辑相关内容。
5、在view目录下建index.jsp,编辑页面内容保存。修改web.xml,建欢迎页:
<welcome-file-list>
<welcome-file>view/index.jsp</welcome-file>
</welcome-file-list>
保存。

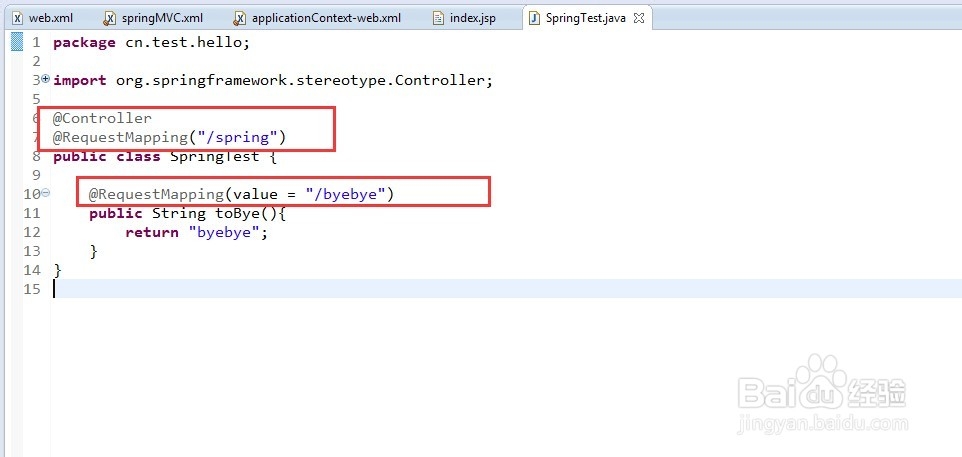
6、建立spring controller 文件 新建class文件 ;编辑返回页面 byebye.jsp

7、通过tomcat启动,在浏览器输入:http://localhost:9090/springMVC/ 即可,点击链接,调用controller返回byebye页面,至此项目建立成功。

