如何在springboot中使用knife4j
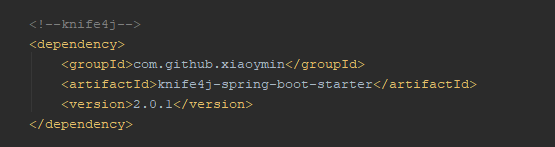
1、引入jar包:
<!--knife4j-->
<dependency>
<groupId>com.github.xiaoymin</groupId>
<artifactId>knife4j-spring-boot-starter</artifactId>
<version>2.0.1</version>
</dependency>
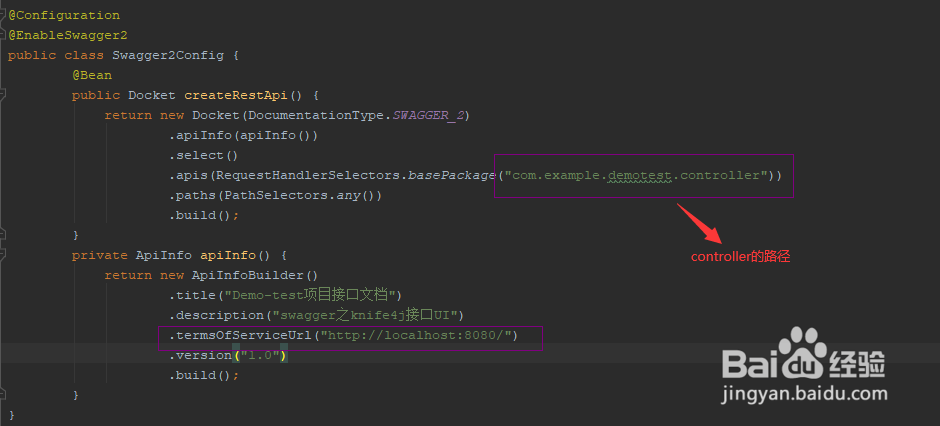
2、设置配置文件:
@Configuration
@EnableSwagger2
public class Swagger2Config {
@Bean
public Docket createRestApi() {
return new Docket(DocumentationType.SWAGGER_2)
.apiInfo(apiInfo())
.select()
.apis(RequestHandlerSelectors.basePackage("com.example.demotest.controller"))
.paths(PathSelectors.any())
.build();
}
private ApiInfo apiInfo() {
return new ApiInfoBuilder()
.title("Demo-test项目接口文档")
.description("swagger之knife4j接口UI")
.termsOfServiceUrl("http://localhost:8080/"
.version("1.0")
.build();
}
}
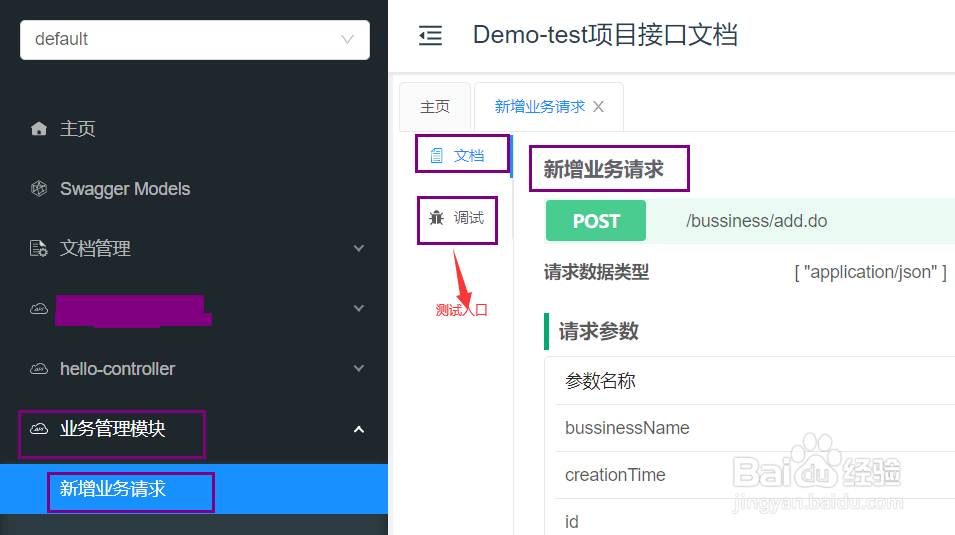
3、正常使用swagger的注解,例如在controller中使用:
类上面@Api(tags = "业务管理模块")
方法上面:@ApiOperation(value = "新增业务请求")


4、启动项目:访问http://localhost:8080/doc.html
就可以查看接口和模拟测试接口类了
声明:本网站引用、摘录或转载内容仅供网站访问者交流或参考,不代表本站立场,如存在版权或非法内容,请联系站长删除,联系邮箱:site.kefu@qq.com。
阅读量:37
阅读量:98
阅读量:108
阅读量:134
阅读量:28