springmvc如何进行非注解配置?
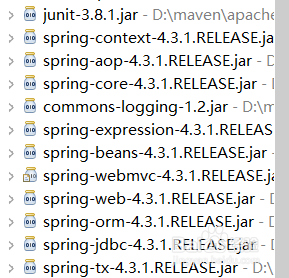
1、首先需要在项目中引入相关的jar,具体不清楚的上网搜下就知道了。
2、引入之后需要配置web.xml,因为启动一个WEB项目的时候,WEB容器会去读取它的配置文件web.xml:
<?xml version="1.0" encoding="UTF-8"?>
<web-app xmlns:xsi="http://www.w3.org/2001/XMLSchema-instance" xmlns="http://java.sun.com/xml/ns/javaee" xsi:schemaLocation="http://java.sun.com/xml/ns/javaee http://java.sun.com/xml/ns/javaee/web-app_2_5.xsd" version="2.5">
<display-name>springMVC</display-name>
<welcome-file-list>
<welcome-file>index.html</welcome-file>
<welcome-file>index.htm</welcome-file>
<welcome-file>index.jsp</welcome-file>
<welcome-file>default.html</welcome-file>
<welcome-file>default.htm</welcome-file>
<welcome-file>default.jsp</welcome-file>
</welcome-file-list>
<servlet>
<servlet-name>springmvc</servlet-name>
<servlet-class>org.springframework.web.servlet.DispatcherServlet</servlet-class>
<!--DispatchServlet默认加载的上下文路径是/WEB_INF/servlet名称-servlet.xml(里面配置处理器,映射器) 对应下面的就是 springmvc-servlet.xml -->
<init-param>
<param-name>contextConfigLocation</param-name> <!--这样就不去/WEB_INF/下找servlet名称-servlet.xml,可以在param-value设置查找路径 -->
<param-value>classpath:config/springmvc-servlet.xml</param-value>
</init-param>
</servlet>
<servlet-mapping>
<servlet-name>springmvc</servlet-name>
<url-pattern>*.do</url-pattern>
</servlet-mapping>
<!--
有三种情况:
1:*.do 访问以.do结尾的将由DispatcherServlet解析。
2:/ 访问所有链接都由DispatcherServlet进行解析,这个时候静态的资源将会被解析,所以我们要设置静态资源不让DispatcherServlet解析
3: /* 这样的情况会报错,当准备返回jsp时,仍然由DispatcherServlet解析,找不到对应的handler会报错。
-->
</web-app>
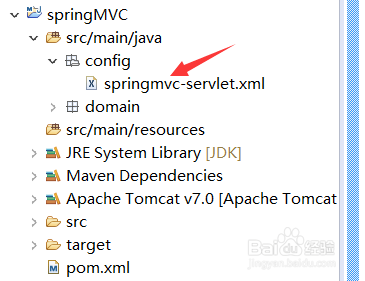
以上就是web.xml中的配置了。当我们访问.do结尾的url的时候就会去DispatcherServlet这个前端控制器进行处理。init-param中的是需要加载的springmvc-servlet.xml,如果你不写init-param这些的话默认会去/WEB_INF/下找servlet名称-servlet.xml这个文件。写的话就根据自己的设置。我的设置位置如图:
3、那么接下来就是写springmvc-servlet.xml了:
<?xml version="1.0" encoding="UTF-8"?>
<beans xmlns="http://www.springframework.org/schema/beans"
xmlns:xsi="http://www.w3.org/2001/XMLSchema-instance"
xmlns:p="http://www.springframework.org/schema/p"
xmlns:tx="http://www.springframework.org/schema/tx"
xmlns:context="http://www.springframework.org/schema/context"
xmlns:aop="http://www.springframework.org/schema/aop"
xmlns:mvc="http://www.springframework.org/schema/mvc"
xsi:schemaLocation="http://www.springframework.org/schema/beans
http://www.springframework.org/schema/beans/spring-beans-3.1.xsd
http://www.springframework.org/schema/mvc
http://www.springframework.org/schema/mvc/spring-mvc-3.1.xsd
http://www.springframework.org/schema/context
http://www.springframework.org/schema/context/spring-context-3.1.xsd
http://www.springframework.org/schema/tx http://www.springframework.org/schema/tx/spring-tx-3.1.xsd
http://www.springframework.org/schema/aop http://www.springframework.org/schema/aop/spring-aop-3.1.xsd">
<!--处理器映射器 将bean的name当做url 前端控制器先来这里,通过携带过来的url找到对应的handler-->
<bean class='org.springframework.web.servlet.handler.BeanNameUrlHandlerMapping' />
<!-- 配置handler 输入网址的时候跳到LoginVerification这个类查找-->
<bean name='/login.do' class='domain.servlet.LoginVerification'></bean>
<!--处理器适配器: 所有的处理器适配器都实现HandlerAdapter接口,到这里来执行handler,找到正确的位置 -->
<bean class='org.springframework.web.servlet.mvc.SimpleControllerHandlerAdapter' />
<!-- 视图解析器 解析jsp视图,默认使用jstl标签,所以我们项目中需要引入jstl的jar,-->
<bean class='org.springframework.web.servlet.view.InternalResourceViewResolver' />
</beans>
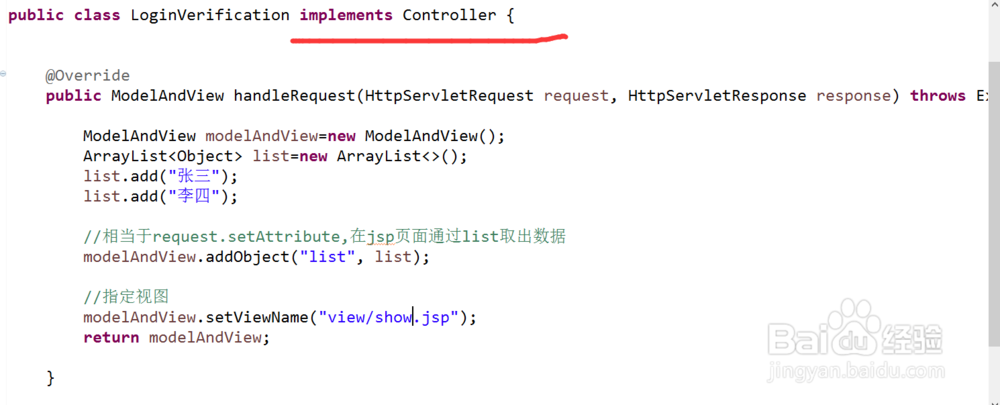
然后控制层写法:
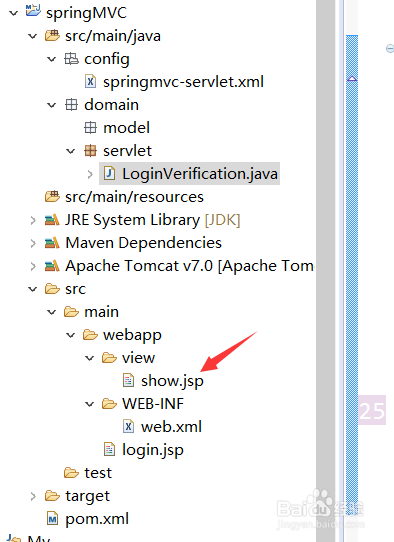
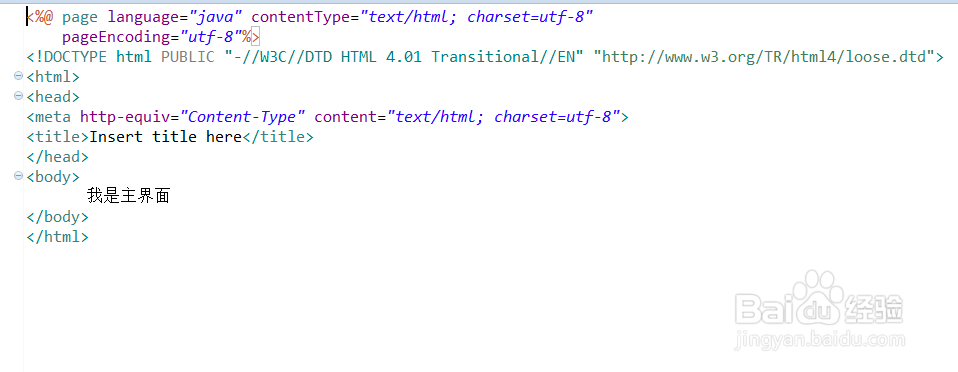
4、然后上面的返回jsp的位置如图:
5、所以我们访问的网址就是127.0.0.1:8080/login.do
端口自己设置的,就能访问到下面这个jsp了
6、以上就是关于springmvc非注解的配置了,
如果文章对您有帮助的话,请为我的文章点赞投票,谢谢了