Unity 截图之 三种方式带不带UI\指定相机截图
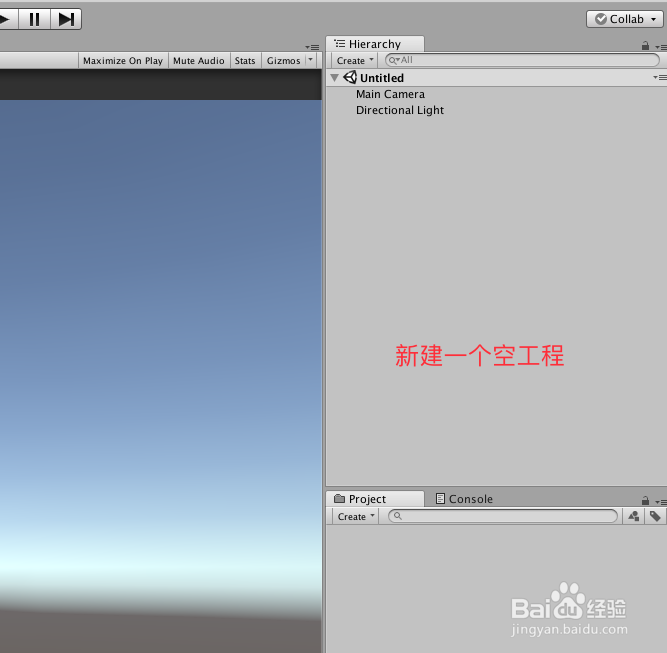
1、打开Unity,新建一个空工程,具体如下图
2、在场景中,新建Cube、Sphere和Button,布局具体如下图

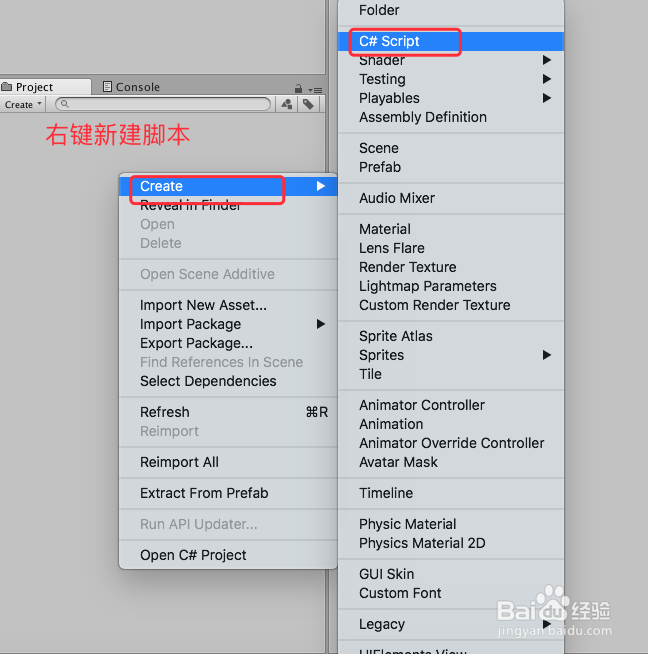
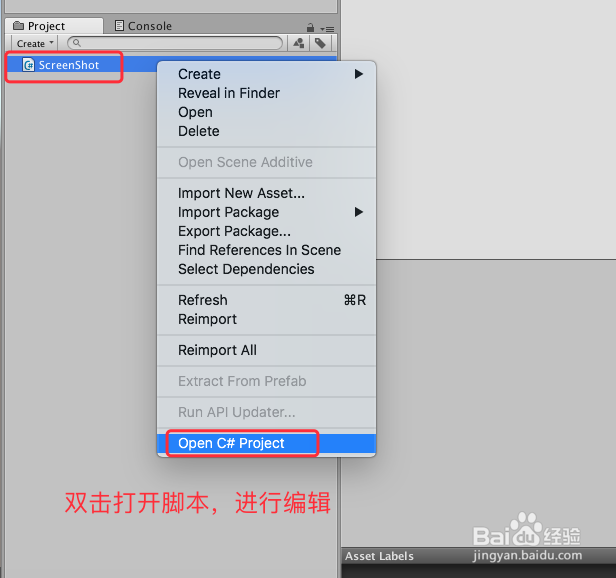
3、在工程中,新建一个脚本,可以命名为 ScreenShot,双击打开进行脚本编辑,具体如下图
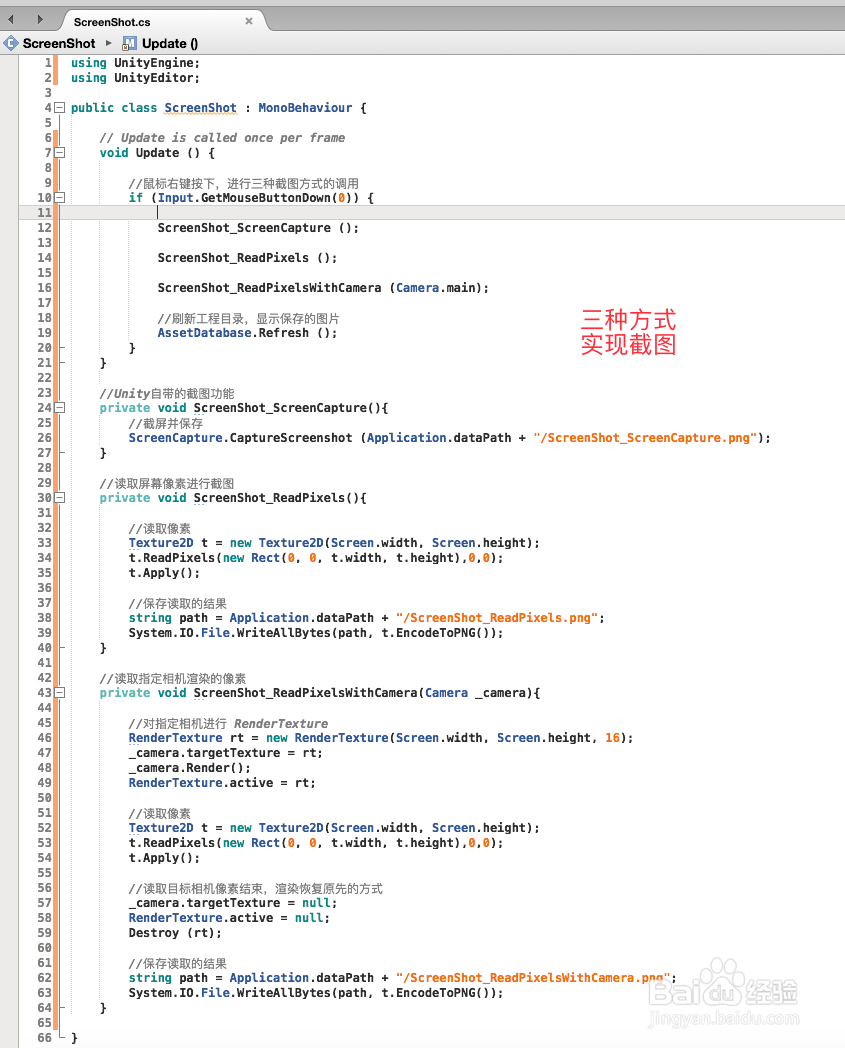
4、ScreenShot 脚本的三种截图方式,包括Unity封装好的接口,以及使用ReadPixels和ReadPixels带相机的方式读取像素,具体代码和代码说明如下图
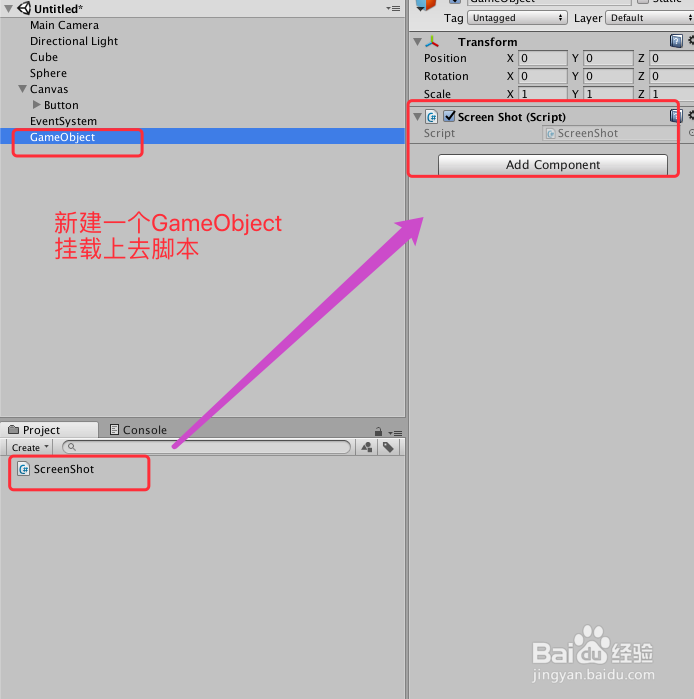
5、脚本编译正确,回到Unity,在场景中添加一个GameObject,挂载上去脚本,具体如下图
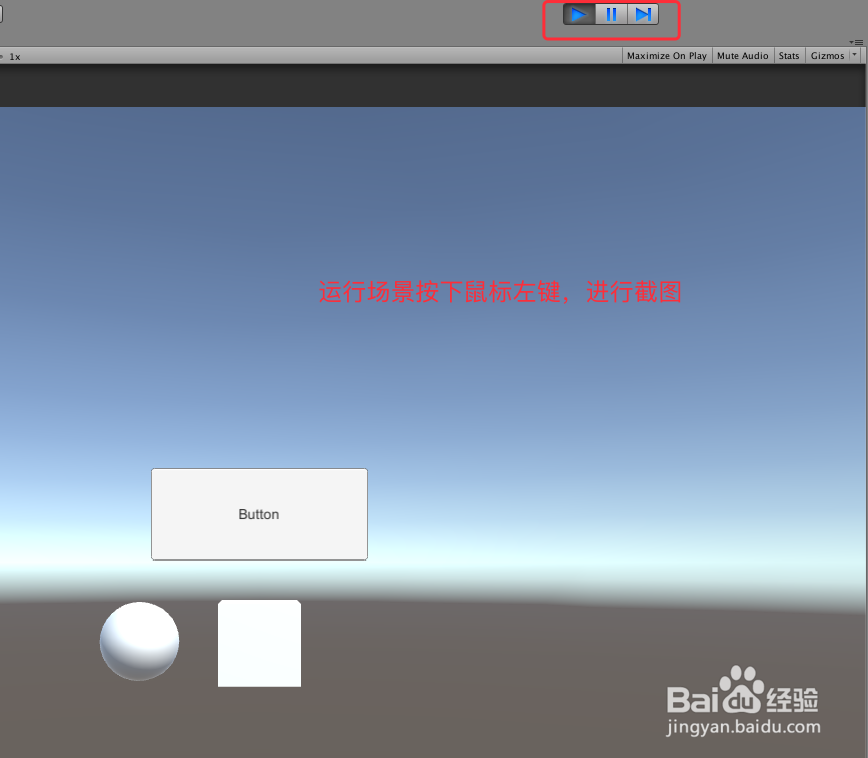
6、运行场景,获得的结果如下图,其中默认状态下带Camera的ReadPixels不会把UI读取到,而其他两种方法,则会带上UI

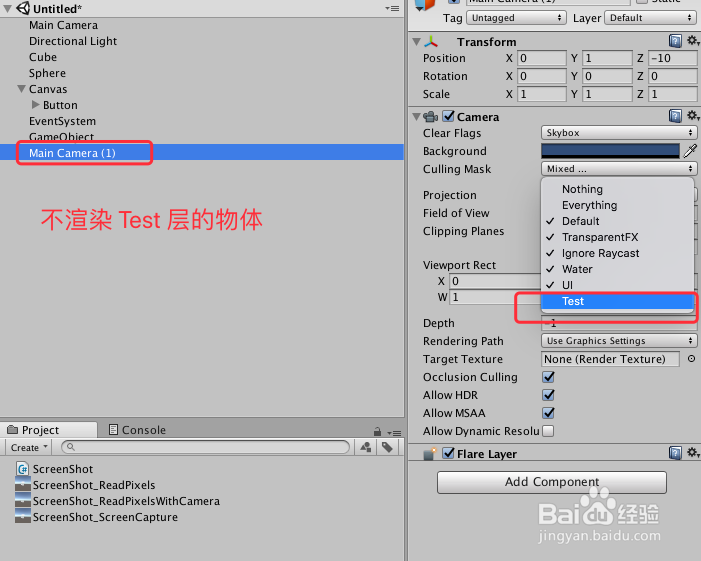
7、接下来通过Camera,来制定截图的内容,不去读取Sphere的方法,首先新建一个Layer,把Sphere设置为 Test 层,具体如下图

8、拷贝Main Camera,把 Tag 设置为 Untagged,不进行渲染 Test 层,并把 Audio Listener 移除,作为目标截图的Camera,让截图不包含Sphere,具体如下图

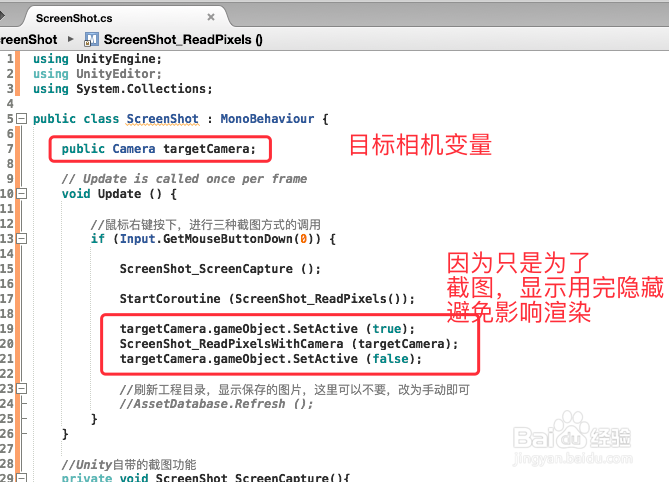
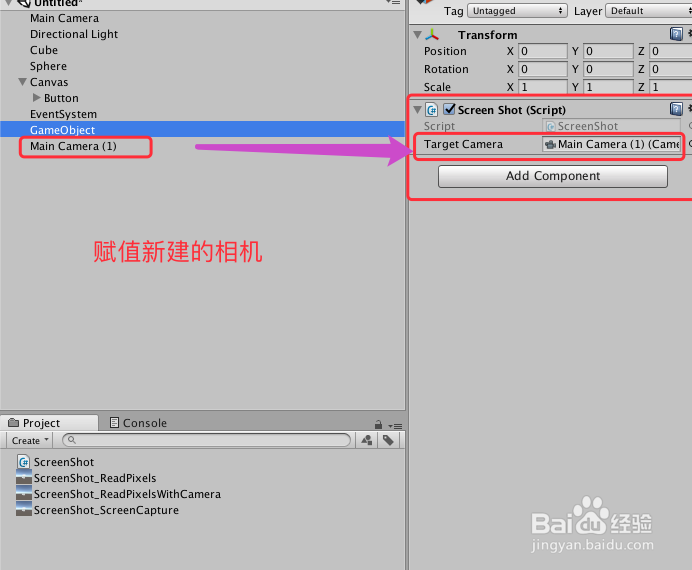
9、回到 ScreenShot 脚本,新添加变量来获取目标相机,用完在隐藏目标相机,以避免干扰 Main Camera 渲染,具体如下图
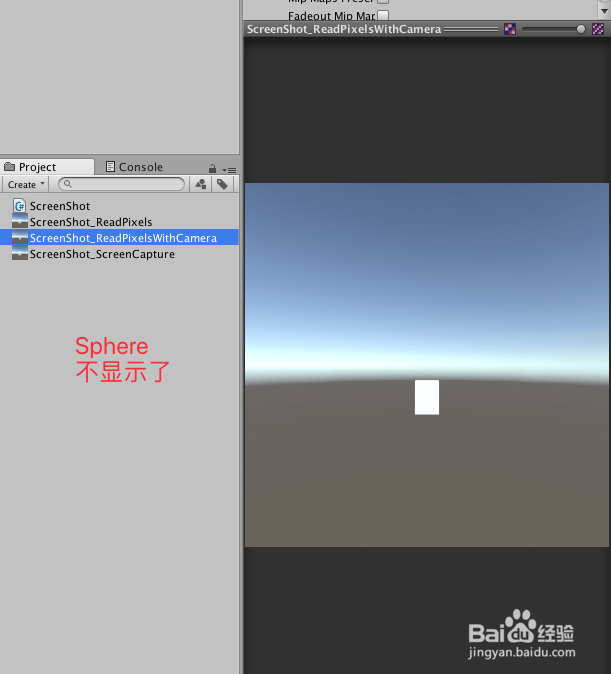
10、回到Unity,把拷贝的目标相机赋值给脚本ScreenShot,运行场景,即可发现 截图没有 Sphere了,具体如下图
11、要实现带相机渲染UI,其中一种方法是,把 Camera改成对应相机渲染,这里不再赘述,可以试试
12、ScreenShot脚本具体内容如下:
using UnityEngine;
using UnityEditor;
using System.Collections;
public class ScreenShot : MonoBehaviour {
public Camera targetCamera;
// Update is called once per frame
void Update () {
//鼠标右键按下,进行三种截图方式的调用
if (Input.GetMouseButtonDown(0)) {
ScreenShot_ScreenCapture ();
StartCoroutine (ScreenShot_ReadPixels());
targetCamera.gameObject.SetActive (true);
ScreenShot_ReadPixelsWithCamera (targetCamera);
targetCamera.gameObject.SetActive (false);
//刷新工程目录,显示保存的图片,这里可以不要,改为手动即可
//AssetDatabase.Refresh ();
}
}
//Unity自带的截图功能
private void ScreenShot_ScreenCapture(){
//截屏并保存
ScreenCapture.CaptureScreenshot (Application.dataPath + "/ScreenShot_ScreenCapture.png");
}
//读取屏幕像素进行截图
private IEnumerator ScreenShot_ReadPixels(){
yield return new WaitForEndOfFrame ();
//读取像素
Texture2D tex = new Texture2D(Screen.width, Screen.height);
tex.ReadPixels(new Rect(0, 0, tex.width, tex.height),0,0);
tex.Apply();
//保存读取的结果
string path = Application.dataPath + "/ScreenShot_ReadPixels.png";
System.IO.File.WriteAllBytes(path, tex.EncodeToPNG());
}
//读取指定相机渲染的像素
private void ScreenShot_ReadPixelsWithCamera(Camera _camera){
//对指定相机进行 RenderTexture
RenderTexture renTex = new RenderTexture(Screen.width, Screen.height, 16);
_camera.targetTexture = renTex;
_camera.Render();
RenderTexture.active = renTex;
//读取像素
Texture2D tex = new Texture2D(Screen.width, Screen.height);
tex.ReadPixels(new Rect(0, 0, tex.width, tex.height),0,0);
tex.Apply();
//读取目标相机像素结束,渲染恢复原先的方式
_camera.targetTexture = null;
RenderTexture.active = null;
Destroy (renTex);
//保存读取的结果
string path = Application.dataPath + "/ScreenShot_ReadPixelsWithCamera.png";
System.IO.File.WriteAllBytes(path, tex.EncodeToPNG());
}
}