Unity 消融特效教程之 简单消融效果的快速实现
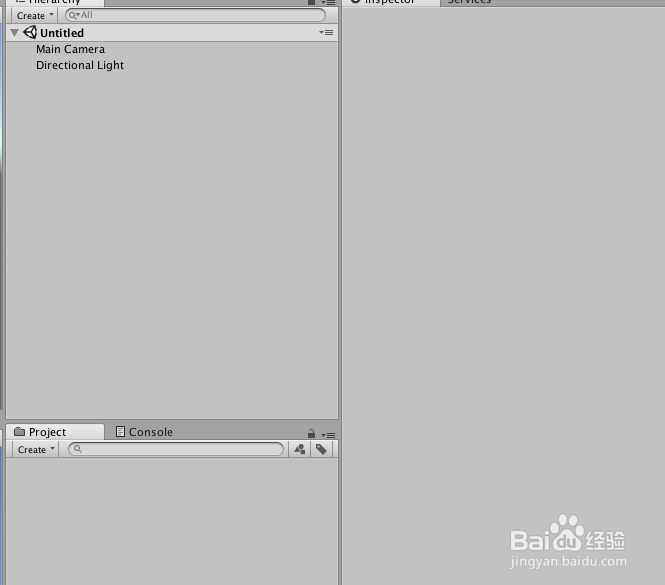
1、打开Unity,新建一个工程,具体如下图
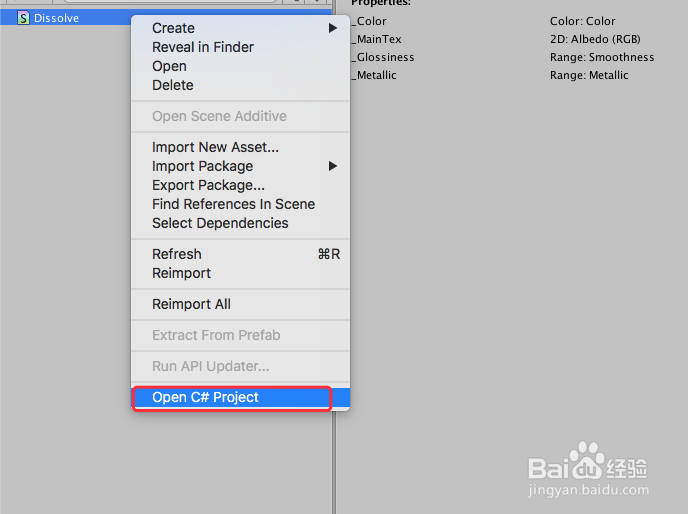
2、在工程中新建一个 Shader 脚本,双击打开 Shader 进行编辑,具体如下图
3、Shader 脚本具体内容如下:
Shader "Custom/Dissolve" {
Properties
{
_MainTex ("Texture", 2D) = "white" {}
_NoiseTex("Noise", 2D) = "white" {}
_Threshold("Threshold", Range(0.0, 1.0)) = 0.5
_EdgeLength("Edge Length", Range(0.0, 0.2)) = 0.1
_EdgeFirstColor("First Edge Color", Color) = (1,1,1,1)
_EdgeSecondColor("Second Edge Color", Color) = (1,1,1,1)
}
SubShader
{
Tags { "Queue"="Geometry" "RenderType"="Opaque" }
Pass
{
Cull Off //要渲染背面保证效果正确
CGPROGRAM
#pragma vertex vert
#pragma fragment frag
#include "UnityCG.cginc"
struct appdata
{
float4 vertex : POSITION;
float2 uv : TEXCOORD0;
};
struct v2f
{
float4 vertex : SV_POSITION;
float2 uvMainTex : TEXCOORD0;
float2 uvNoiseTex : TEXCOORD1;
};
sampler2D _MainTex;
float4 _MainTex_ST;
sampler2D _NoiseTex;
float4 _NoiseTex_ST;
float _Threshold;
float _EdgeLength;
fixed4 _EdgeFirstColor;
fixed4 _EdgeSecondColor;
v2f vert (appdata v)
{
v2f o;
o.vertex = UnityObjectToClipPos(v.vertex);
o.uvMainTex = TRANSFORM_TEX(v.uv, _MainTex);
o.uvNoiseTex = TRANSFORM_TEX(v.uv, _NoiseTex);
return o;
}
fixed4 frag (v2f i) : SV_Target
{ //镂空
fixed cutout = tex2D(_NoiseTex, i.uvNoiseTex).r;
clip(cutout - _Threshold);
//边缘颜色
if(cutout - _Threshold < _EdgeLength)
{
float degree = (cutout - _Threshold) / _EdgeLength;
return lerp(_EdgeFirstColor, _EdgeSecondColor, degree);
}
fixed4 col = tex2D(_MainTex, i.uvMainTex);
return col;
}
ENDCG
}
}
}
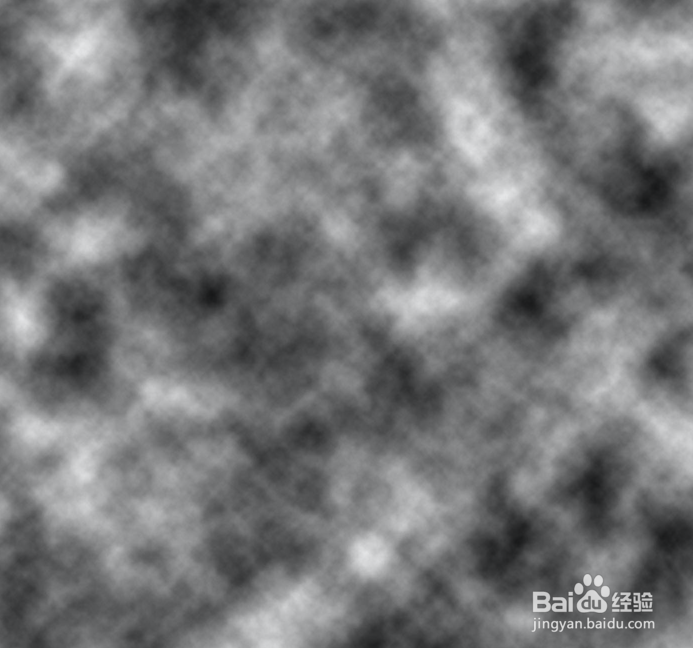
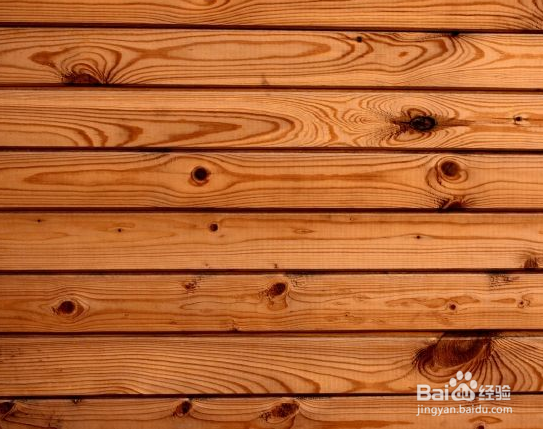
4、导入两张贴图,一个作为底图一个作为消融噪点图,并且设置为精灵图格式,具体如下图

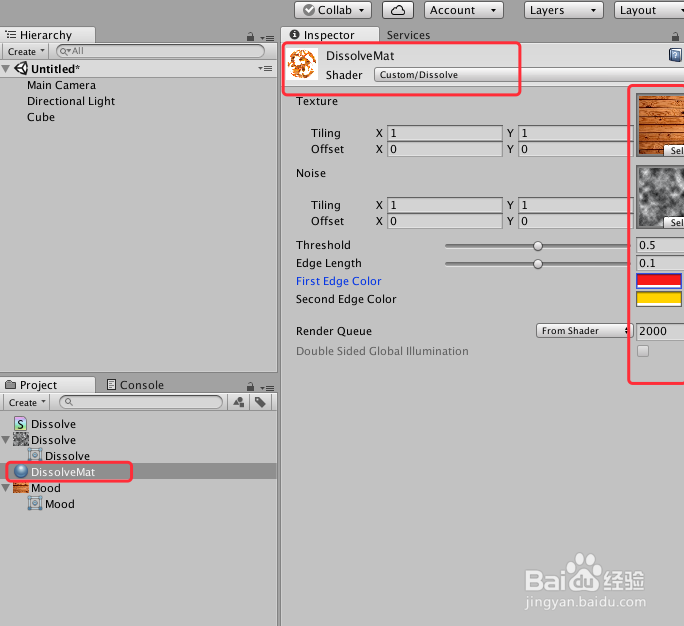
5、在工程中,新建一个 Material ,并且设置 Shader 为刚才新建的 Shader,并且添加材质贴图,改变 Threshold 就可以看到消融效果,改变 Edge Length 是调整 消融边缘效果,具体如下图
6、在场景中添加一个 Cube,把材质赋给 Cube,具体如下图


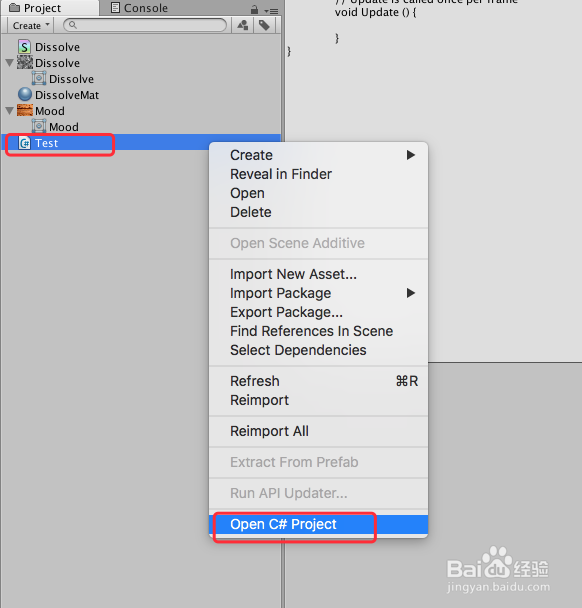
7、在工程中,新建一个脚本 Test,来控制改变材质的 Threshold 值,来实现脚本控制消融效果,打开脚本进行编辑,具体如下图
8、Test 脚本具体代码和代码说明如下图

9、Test 脚本具体内容如下:
using UnityEngine;
public class Test : MonoBehaviour {
//获得消融材质,设置消融的当前值,以及消融速度
private Material mat;
private float currtentValue;
public float speed = 1.0f;
// Use this for initialization
void Start () {
//获得消融材质
mat = this.GetComponent <Renderer> ().material;
}
// Update is called once per frame
void Update () {
//差值修改材质消融值,_Threshold 为Shader中控制消融的参数
currtentValue = Mathf.Lerp (currtentValue, 1.0f, Time.deltaTime * speed);
if (!Mathf.Approximately (currtentValue, 1.0f)){
mat.SetFloat ("_Threshold", currtentValue);
}
}
}
10、脚本编译正确,回到Unity界面,把脚本挂载到 Cube 上,具体如下图

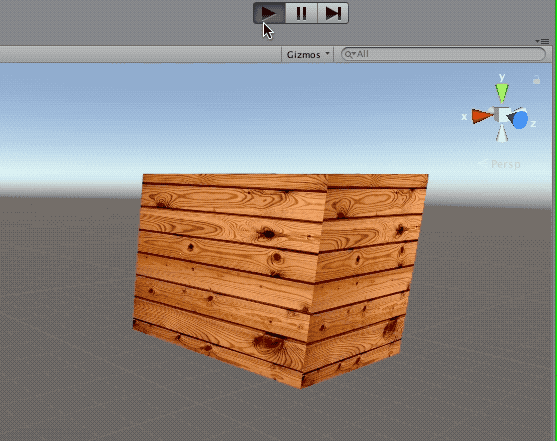
11、运行场景,效果如下图
12、到此,《Unity 消融特效教程之 简单消融效果的快速实现》讲解结束,谢谢