Ubuntu搭建LAMP环境的详细步骤
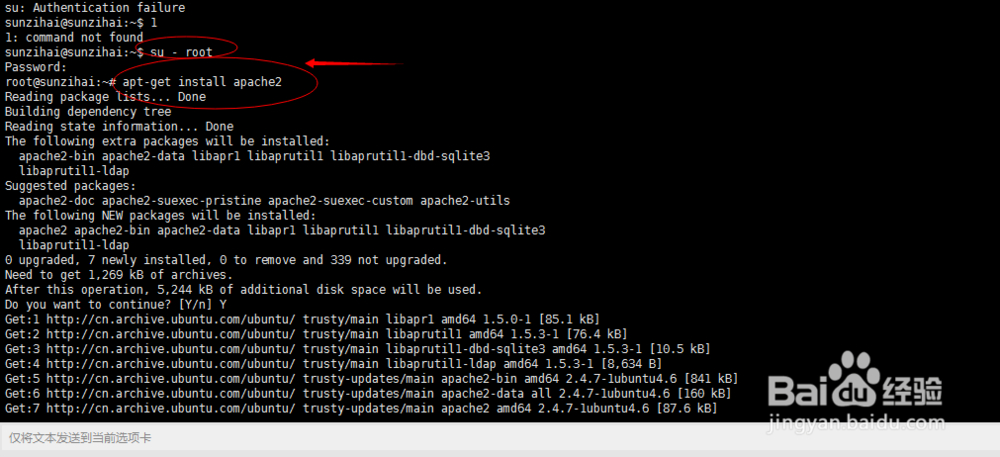
1、安装Apache2,apt-get update更新源之后,切换到管理员root

2、安装PHP模块,apt-get install php5 -y 如下图:

3、 安装Mysql 数据库 apt-get install mysql-server和mysql-client


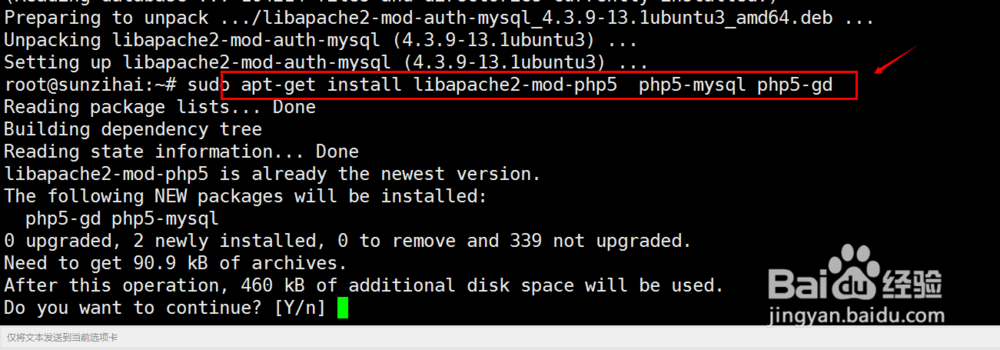
4、安装 其他模块 libapache2-mod-php5、libapache2-mod-auth-myql、 php5-mysql、 php5-gd 如下图:
5、测试Apache是否正常工作,打开浏览器,输入IP地址192.168.31.207,看看是否有It Works!网页展示。


6、 修改权限/var/www sudo chomod 777 /var/www

7、 安装phpmyadmin,sudo apt-get install phpmyadmin
安装过程中选择apache2,点击确定。下一步选择是要配置数据库,并输入密码。


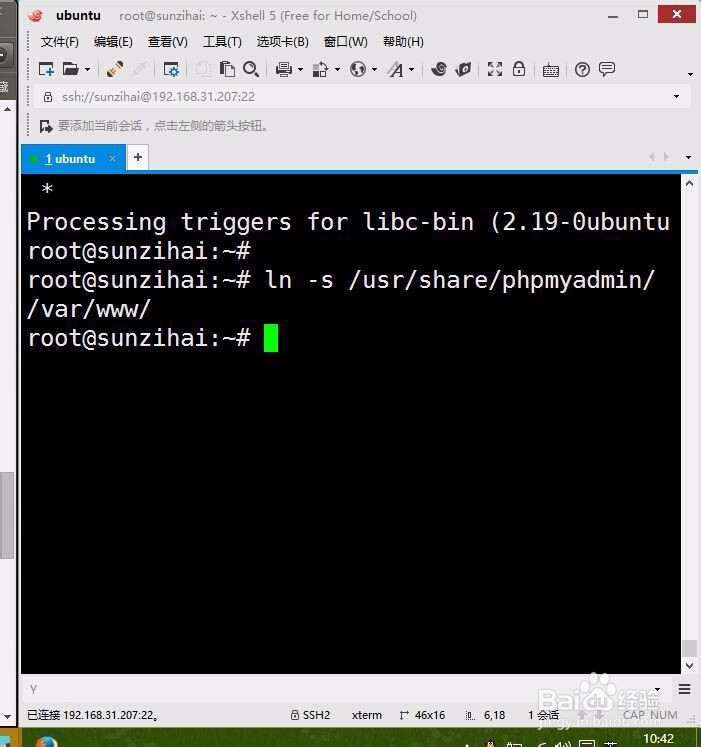
8、测试phpmyadmin, ln -s /usr/share/phpmyadmin /var/www
然后直接运行http://ip地址/phpmyadmin,看有没有数据库管理软件出现。

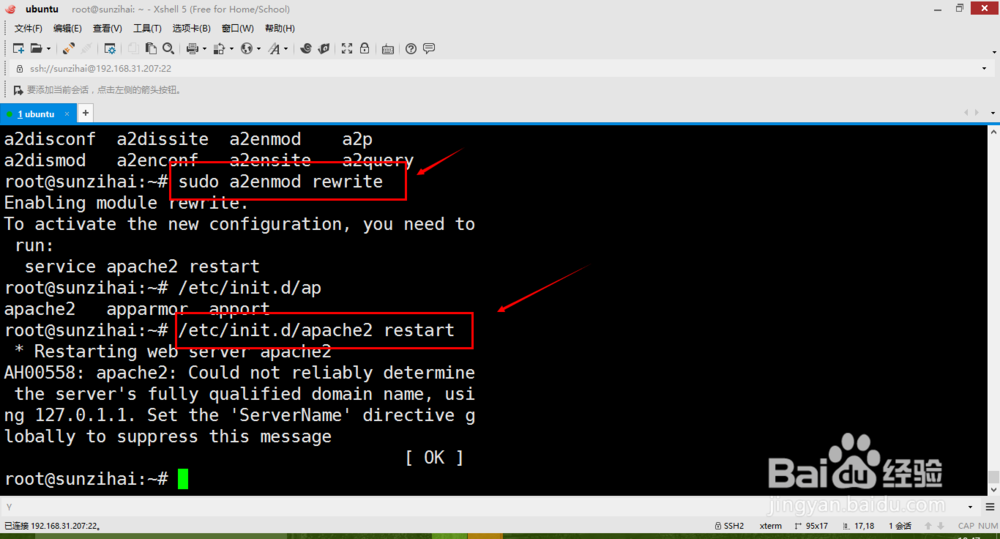
1、启用mod_rewrite模块,重启apache2服务。
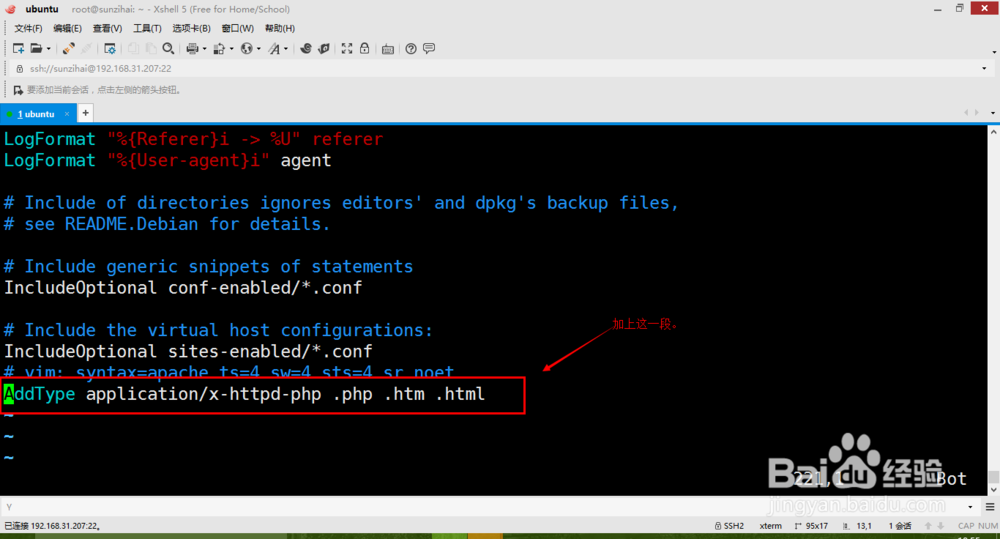
2、 设置Apache支持.htm .html .php
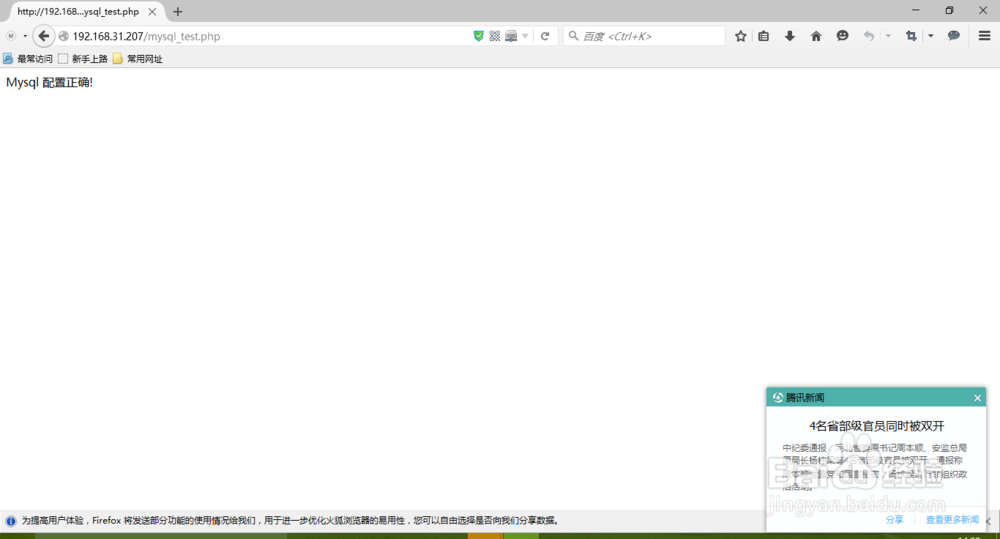
3、测试php网页
编辑mysql_test.php代码如下:<?php
$link = mysql_connect("localhost", "root", "password");if(!$link)
die('Could not connect: ' . mysql_error());
else
echo "Mysql 配置正确!";
mysql_close($link);
?>

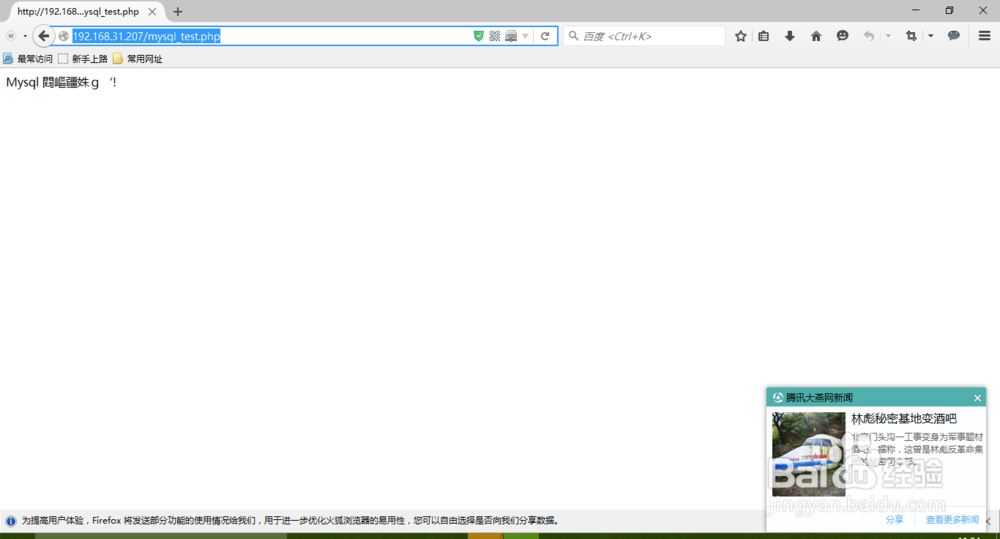
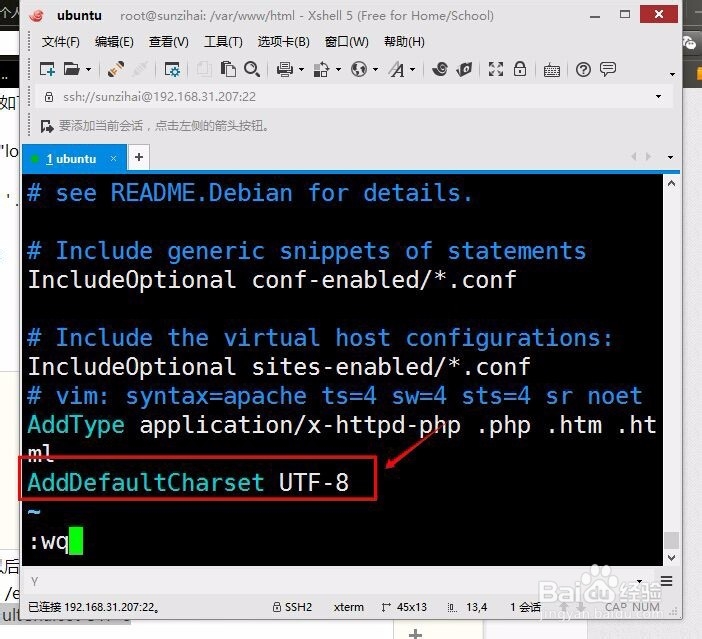
4、 第三步这里出现了乱码以后解决方法
打开配置文件sudo gedit /etc/apache2/apache2.conf&添加如下代码:AddDefaultCharset UTF-8加上这句后必须重新启动apache2服务,才能生效