Unity 学习教程之 动态获取屏幕上的颜色
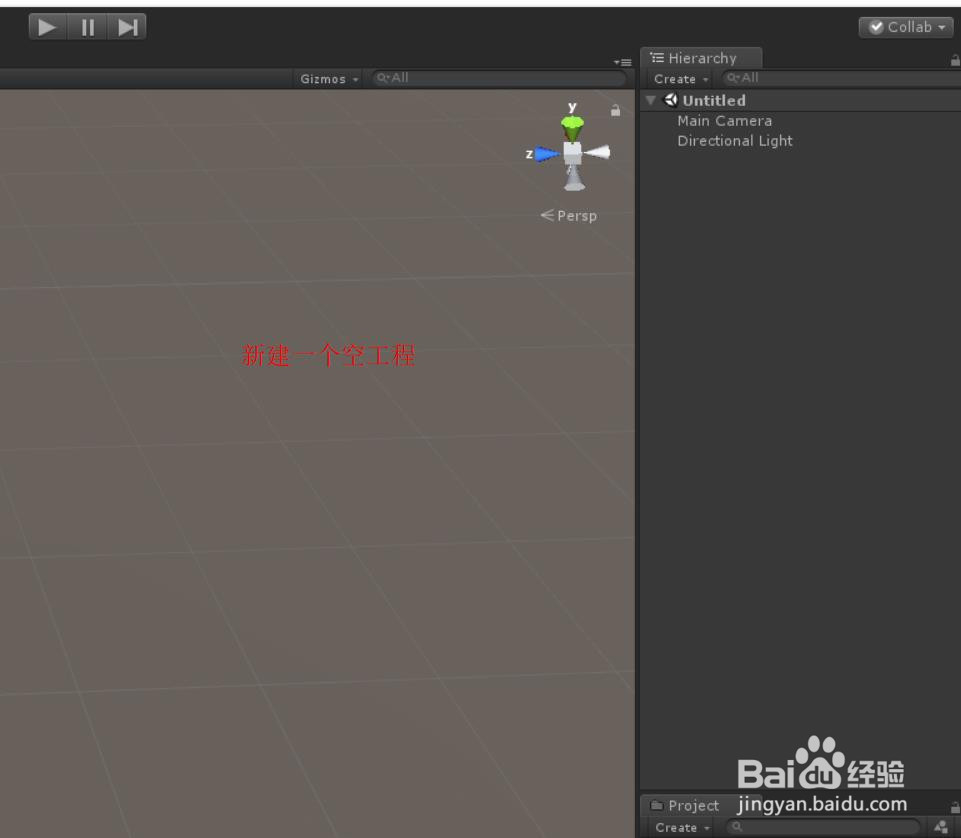
1、打开Unity,兴建一个空工程,具体如下图
2、在工程中新建一个脚本,可以命名为 Test,用来编写店家鼠标左键,动态获取屏幕上颜色的逻辑,具体如下图
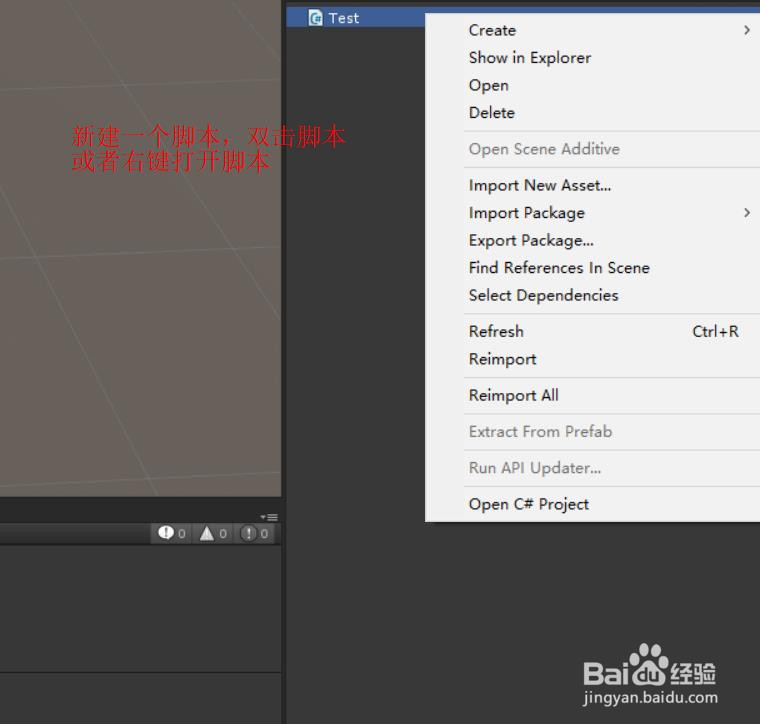
3、双击或者右键打开 Test 脚本,首先 new Texture2D ,动态获取当前屏幕的图,然后根据鼠标点击的位置获得此处的颜色值,具体代码和代码说明如下图

4、Test 脚本的具体代码如下:
using System.Collections;
using System.Collections.Generic;
using UnityEngine;
public class Test : MonoBehaviour {
// 方便在 Inspect 观察自己选的颜色变化
public Color CurrentColor;
// Update is called once per frame
void Update () {
// 按下鼠标右键开启颜色获取协程
if (Input.GetMouseButtonDown(0)) {
StartCoroutine(CaptureScreenshot());
}
}
IEnumerator CaptureScreenshot()
{
//只在每一帧渲染完成后才读取屏幕信息
yield return new WaitForEndOfFrame();
Texture2D m_texture = new Texture2D(Screen.width, Screen.height, TextureFormat.RGB24, false);
// 读取Rect范围内的像素并存入纹理中
m_texture.ReadPixels(new Rect(0, 0, Screen.width, Screen.height), 0, 0);
// 实际应用纹理
m_texture.Apply();
Color color = m_texture.GetPixel((int)Input.mousePosition.x, (int)Input.mousePosition.y);
CurrentColor = color;
// 停止该协程
StopCoroutine(CaptureScreenshot());
}
}
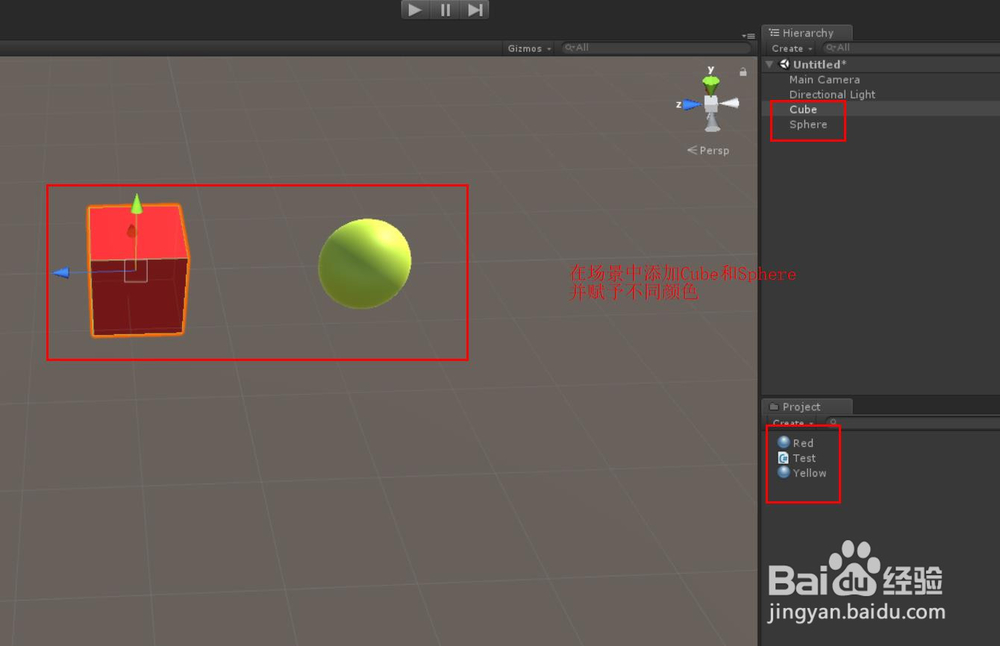
5、脚本编译正确,回到Unity,在场景中添加 红色的 Cube和 黄色的 Sphere,作为颜色选择参考,具体如下图
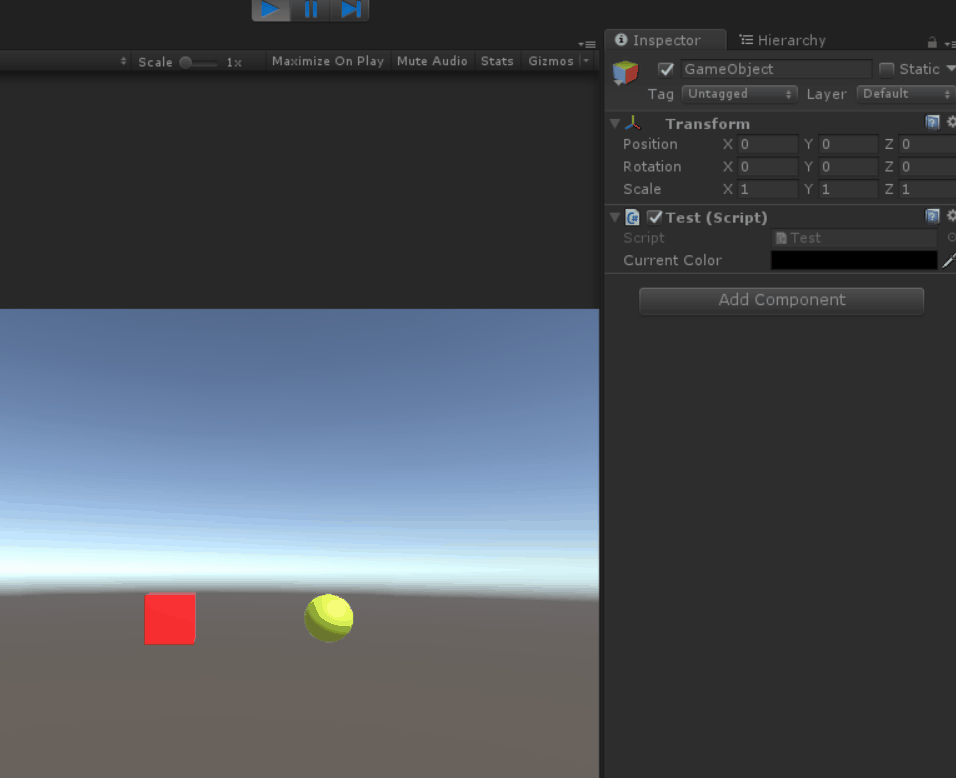
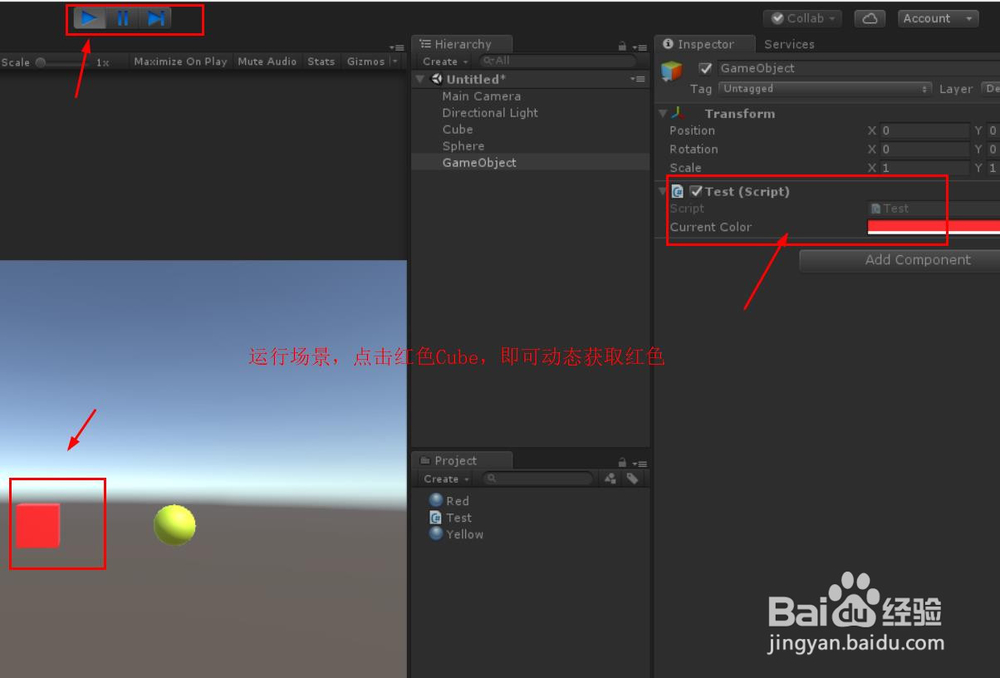
6、在场景中添加一个 GameObject,把脚本挂载上去,具体如下图

7、运行场景点击场景屏幕上的 red Cube,即可看到脚本 Test 的 CurrentColor 的变化,具体如下图
8、具体效果如下