Visual Studio 2008怎么设置启动窗体
1、打开Visual Studio 2008,在菜单栏选择 “文件”→“新建”→“项目”。

2、在项目里,选择“Visual C#”→“Windows”→“Windows窗口应用程序”,将其命名为 WindowsFormsApplication2

3、在项目里,添加一个WindowsFormsApplication3窗体,并将它设置为启动窗体。
操作如下:在菜单栏选择 “项目”→“添加Windows 窗体”。

4、在添加新项中选择类别“Visual C#项”→“Windows 窗体”,将名称改为 WindowsFormsApplication3.cs

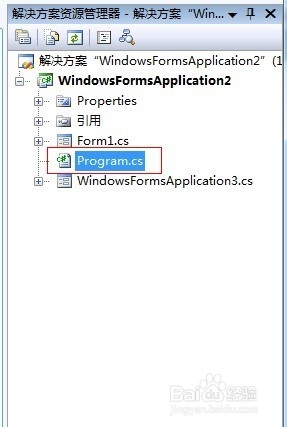
5、在“解决方案资源管理器”中,双击打开Program.cs 文件。

6、修改 Application.Run 方法中的参数来设置启动窗体。
将 Application.Run(new Form1()); 中的 Form1 改成 WindowsFormsApplication3 即可。

7、设置完毕后,我们点击菜单栏上的“生成”,“生成WindowsFormsApplication2”

8、生成好了,接下来我们打开文件夹查看程序吧。

1、打开“解决方案资源管理器”→左击“WindowsFormsApplication2”→“在Windows 资源管理器中打开文件夹”
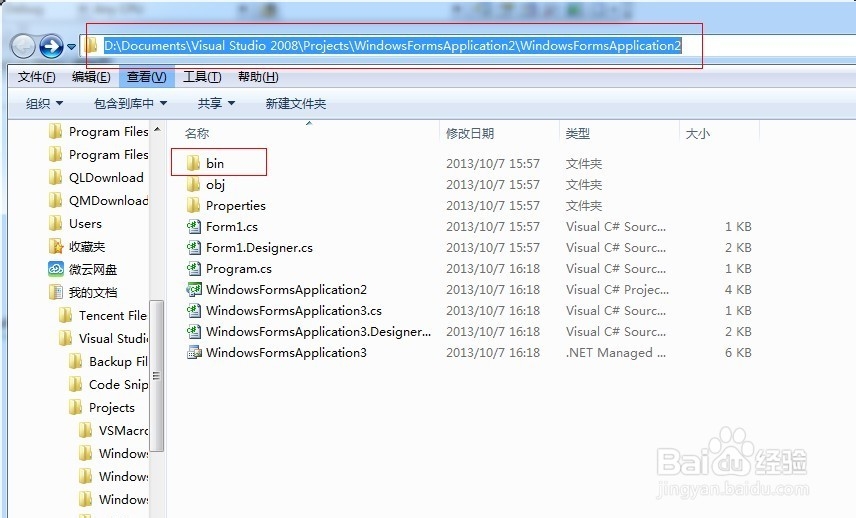
2、打开“bin”→“Debug”→“WindowsFormsApplication2.exe”

声明:本网站引用、摘录或转载内容仅供网站访问者交流或参考,不代表本站立场,如存在版权或非法内容,请联系站长删除,联系邮箱:site.kefu@qq.com。
阅读量:96
阅读量:183
阅读量:169
阅读量:142
阅读量:183