SpringBoot默认日志配置
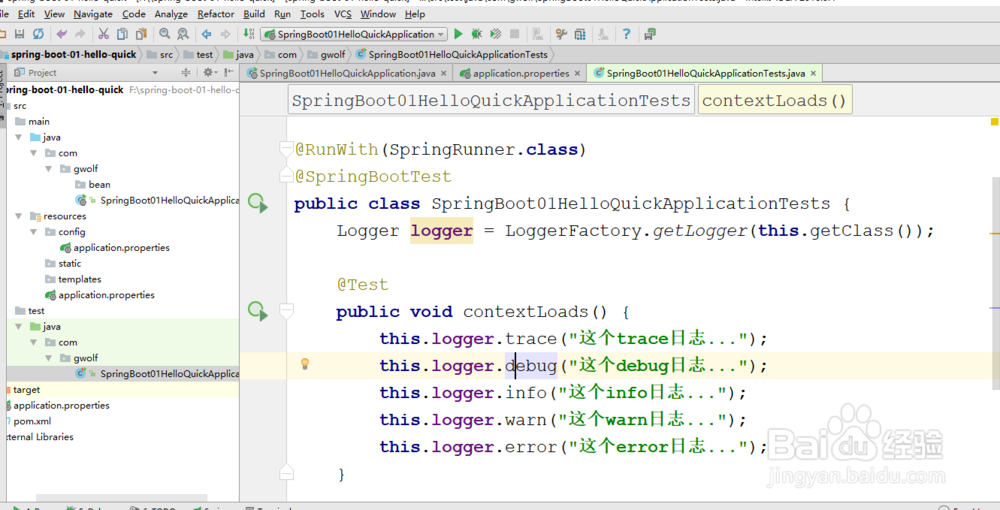
1、编写一个junit测试类,用来打印springboot日志。
package com.gwolf;
import org.junit.Test;
import org.junit.runner.RunWith;
import org.slf4j.Logger;
import org.slf4j.LoggerFactory;
import org.springframework.boot.test.context.SpringBootTest;
import org.springframework.test.context.junit4.SpringRunner;
@RunWith(SpringRunner.class)
@SpringBootTest
public class SpringBoot01HelloQuickApplicationTests {
Logger logger = LoggerFactory.getLogger(this.getClass());
@Test
public void contextLoads() {
this.logger.trace("这个trace日志...");
this.logger.debug("这个debug日志...");
this.logger.info("这个info日志...");
this.logger.warn("这个warn日志...");
this.logger.error("这个error日志...");
}
}
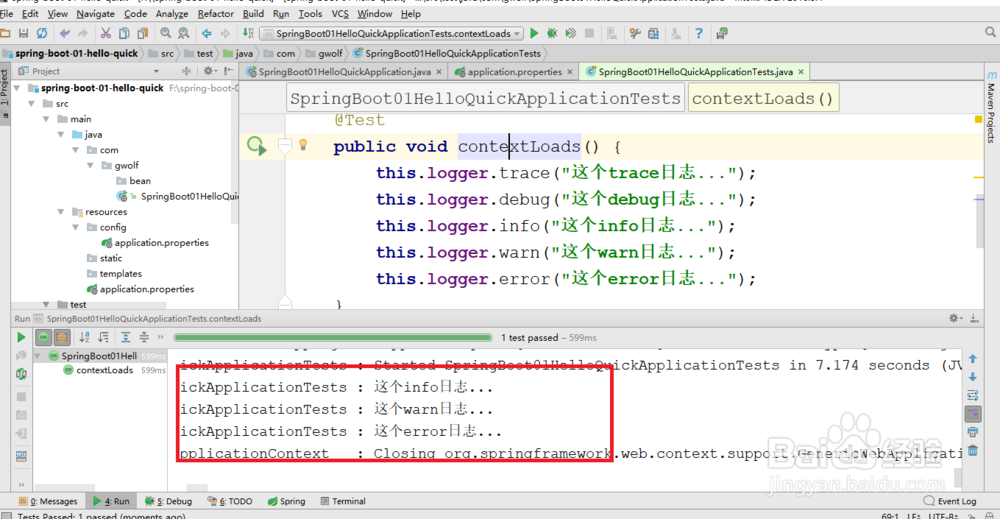
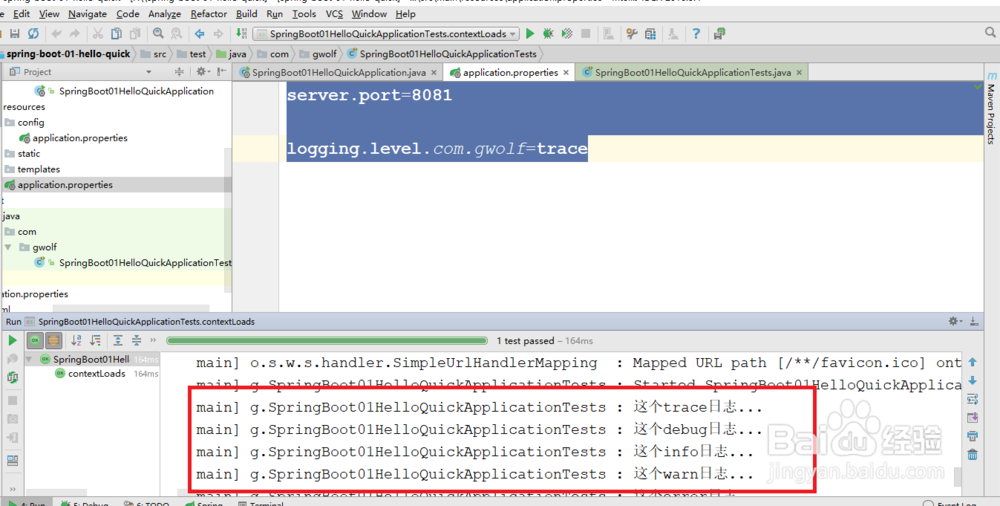
2、执行junti日志测试类,查看日志的执行结果。
从日志答应的结果来看,只显示了info级别以上的日志。
springboot默认给我们使用的info级别的,没有指定级别的就用springboot默认规定的级别。
3、修改application.properties日志级别。
server.port=8081logging.level.com.gwolf=trace
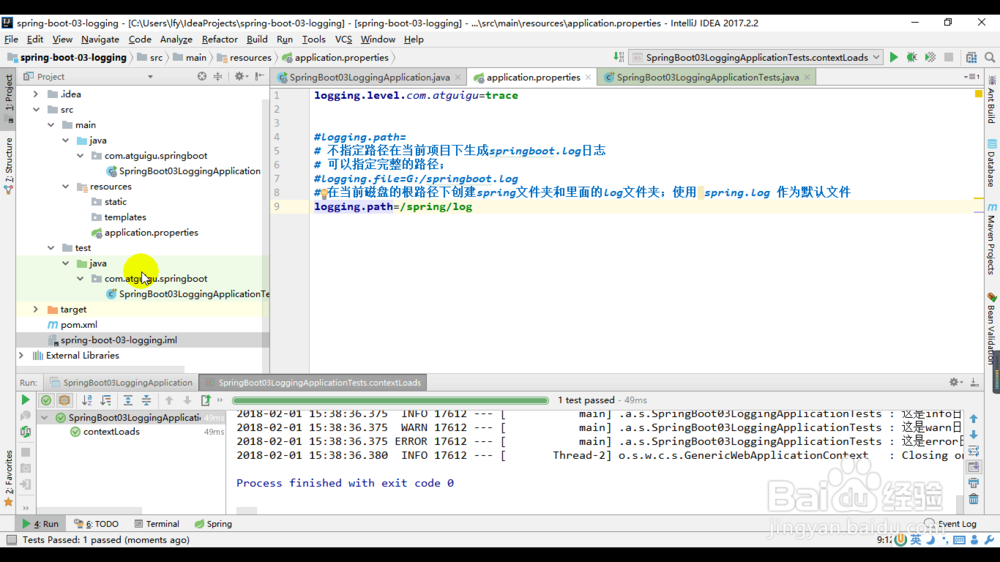
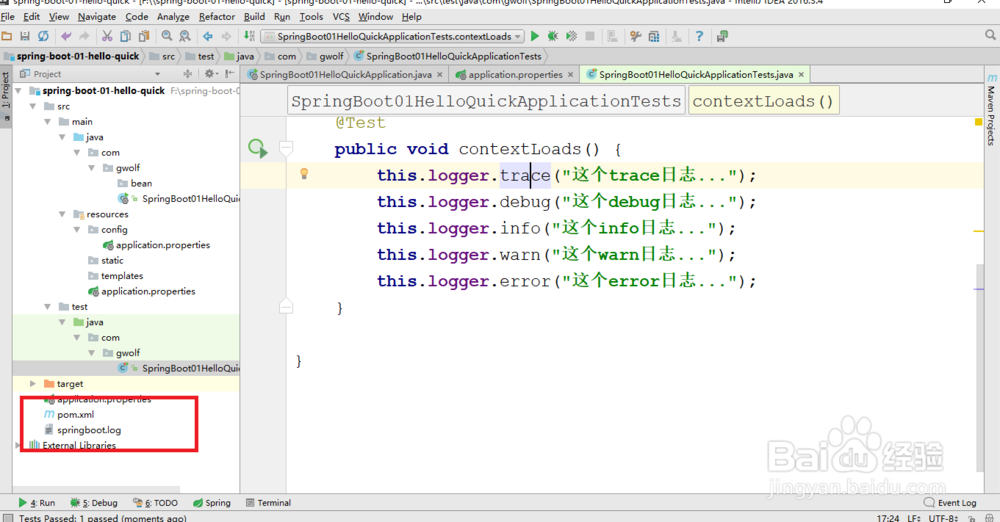
4、springboot中可以指定日志的记录文件。
server.port=8081logging.level.com.gwolf=tracelogging.file=springboot.log
不指定路径就是在当前项目下生成日志。
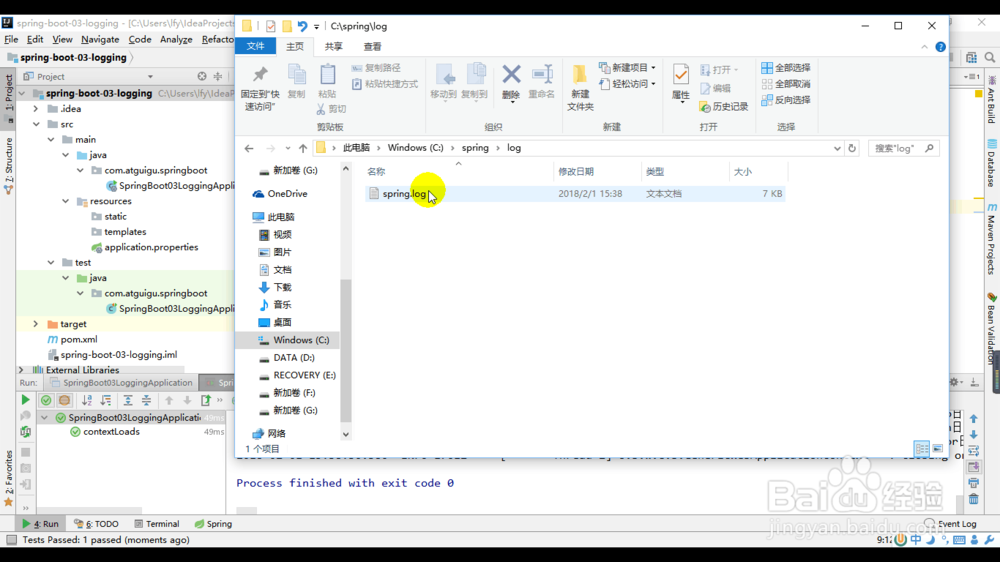
5、可以通过指定logging.path在当前磁盘的根路径下创建spring文件夹和里面的log文件夹。
logging.path=/spring/log