Neat Image Pro使用教程
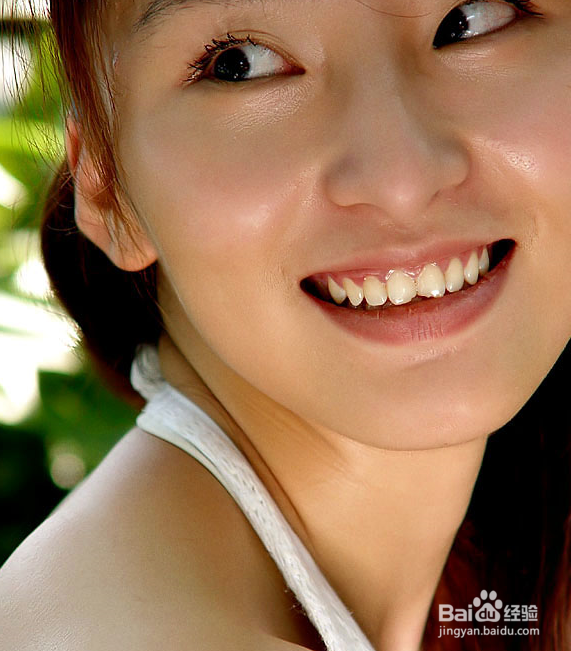
1、原始图片

2、目标图片

3、第一步

4、第二步原图拉到下面白页的小按钮,复制原图

5、第三步在photoshop》filter, 找到neatimage的plugin,打开。注意好像只有2。6以上版本支持plugins,直接运行程序过程也是大同小异,只要后期把它放回photoshop跟原图处理也一样。

6、第四步

7、第五步

8、第六步

9、第七步,最后用遮幕,然后软笔刷把眼睛,眉毛等等总要你又觉得有点糊的部位刷一下,完成目标图片


声明:本网站引用、摘录或转载内容仅供网站访问者交流或参考,不代表本站立场,如存在版权或非法内容,请联系站长删除,联系邮箱:site.kefu@qq.com。
阅读量:21
阅读量:59
阅读量:87
阅读量:87
阅读量:45